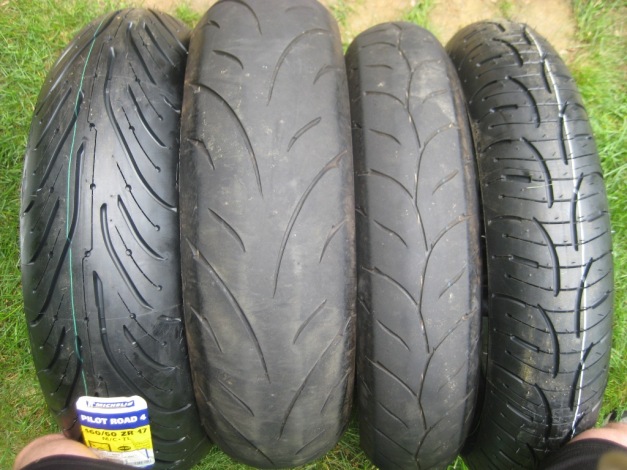
When I brought the 2013 SFV650 in for its inspection this spring, the shop thought it was about time to invest in some new tires. The bike had Dunlop Sportmax Qualifiers installed which were the OEM tire and they had almost 9,000 miles on them which is pretty good life for a motorcycle tire. For the replacement tires I went with the Michelin Pilot Road 4 tires which have many good reviews and seem to be inline with my riding style.
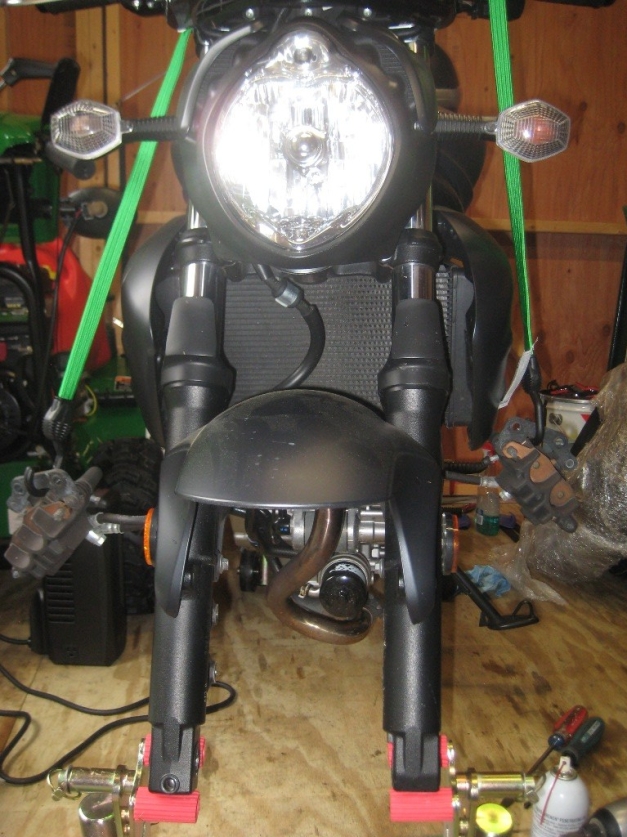
I started with the front wheel and it is easiest if both front brake calipers are removed first. I hung them from the handlebar with some bungee cords.
I used the Motion Pro BeadPro tire bead breaker and tire lever set to both remove and install the tires. They work well at breaking the existing tire bead and have enough length to get the tires off and on the rim. Definitely use some rim protectors to avoid scuffing up the rim. I also used Windex on the old tire to help it slip off of the rim with the tire levers and then used Yamalube Tire Mount Lube to assist with seating the new tire bead.
The front tire with its narrower width is both easier to remove and install than the rear wheel.
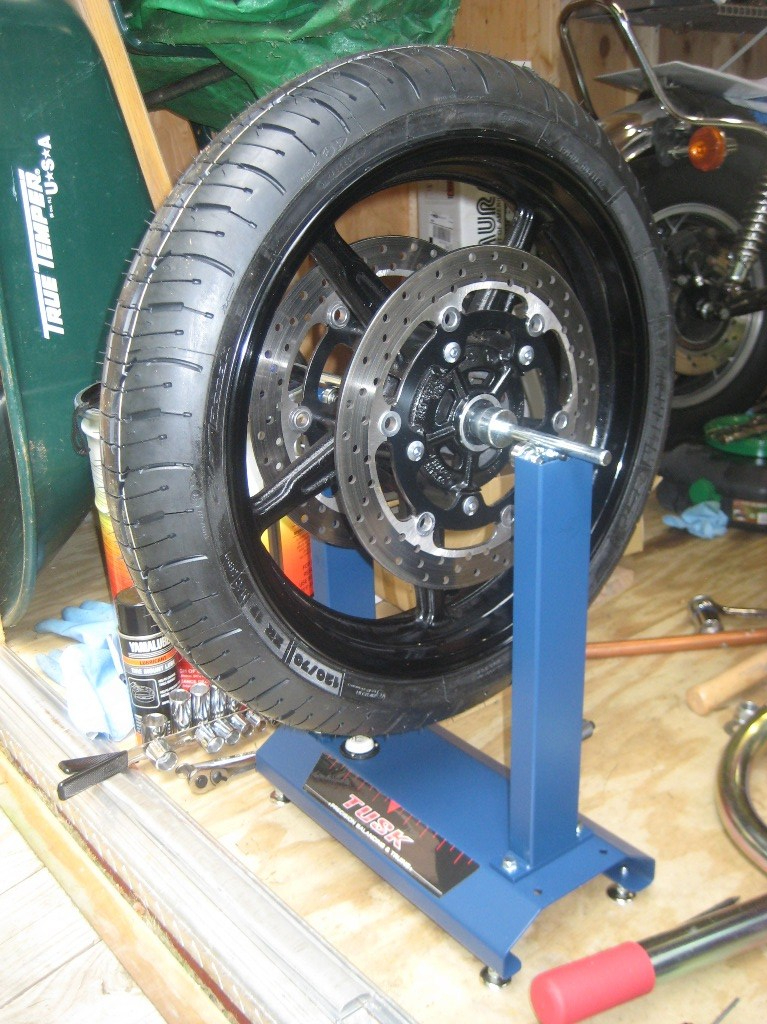
Previously I mounted new tires on the 1981 Suzuki GS650L due to their age and for balancing I used Dynabeads as shown in this post. The Dynabeads seemed to work fine, but I wasn’t sure if some of the steering feel of the GS650L was influenced by the Dynabeads or if it was just the geometry of the older bike. For this bike that I ride on a more regular basis, I wanted to properly balance the tires. The Michelin tires do not come with a balancing mark on the tire, so you just mount it on the rim in any location. Michelin seems to think that any weight imbalance in the tire itself is insignificant and that most balancing is done for the weight of the wheel. The front wheel did not have any balance weights before I started. Using the Tusk Static Wheel Balance Stand I had to add 7g of weight to the rim to find the balance point.
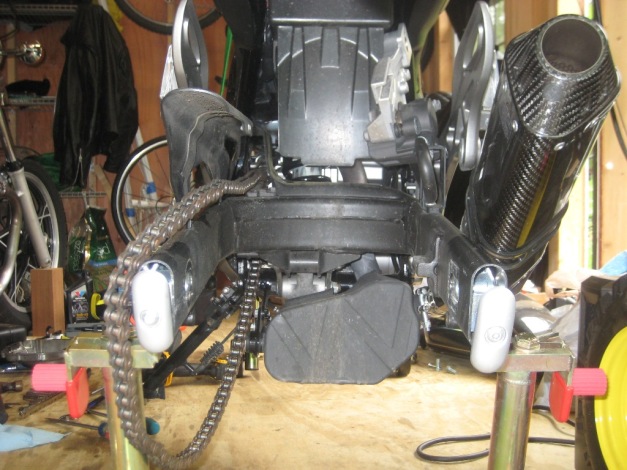
The rear wheel was even a bit more difficult to remove from the bike. The rear axle has a 27mm nut. Even with this socket on a 1/2″ breaker bar, I had to add another length of pipe to the handle to get enough leverage to break the nut free. Once you pull the rear axle out, the rear brake caliper is also released from the swing arm and is just flipped forward out of the way in the next photo.
With the added width of the rear tire and rim, the bead would not seat with air pressure alone. Adding a ratchet strap around the circumference of the tire and cranking it down to the rim allowed the tire to inflate and set the bead.
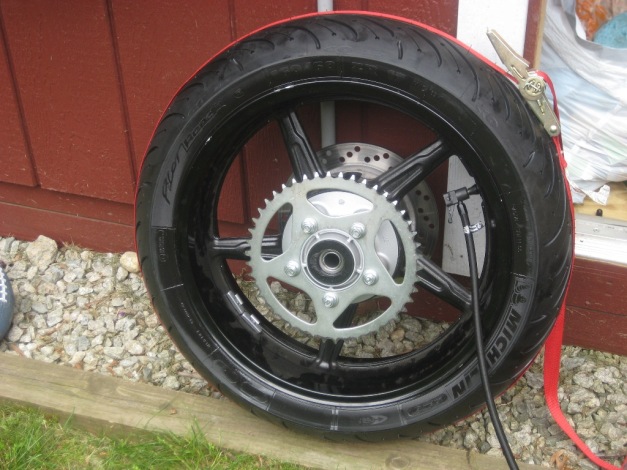
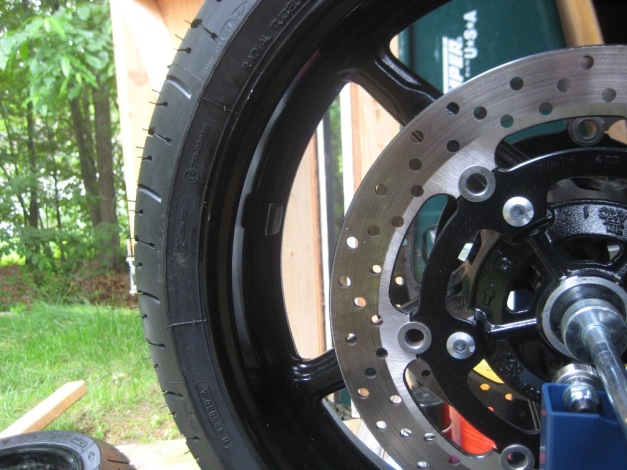
You can see in the photo that the original tire had two 20g crimp on weights installed for balance. Since the belief was that the imbalance was in the wheel I left them on to check the initial balance. That was now the heavy spot on the new tire. I took the weights off and re-balanced with the stick-on 7g weights. It ended up using 42g of weight only slightly off from where the original 40g of weight was crimped on. Oh well.
Everything was reinstalled to the bike and torqued to specification. The new tires do have a nice feel while riding. I will be curios to see how long they hold up with the dual compound tread technology.
A before and after of the Dunlop Sportmax Qualifiers vs, the Michelin Pilot Road 4: