
I’ll admit that Suzuki made a mistake when they re-imaged the classic SV650 as the SFV650, but under the body work the SFV650 is exactly the same as any subsequent SV650 on the road today. One of the things that I miss the most from the SV and really don’t like on the SFV650 is the headlight, so my next project was to convert the weird, bulbous headlight of the SFV650 to something more familiar to the SV round headlight.
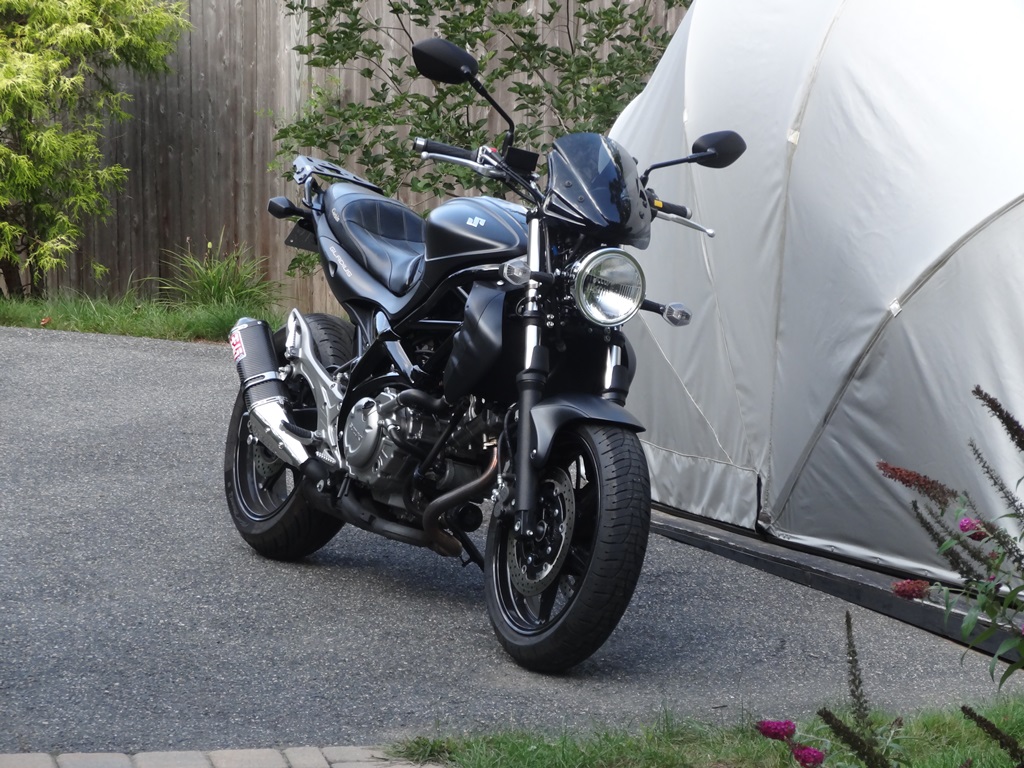
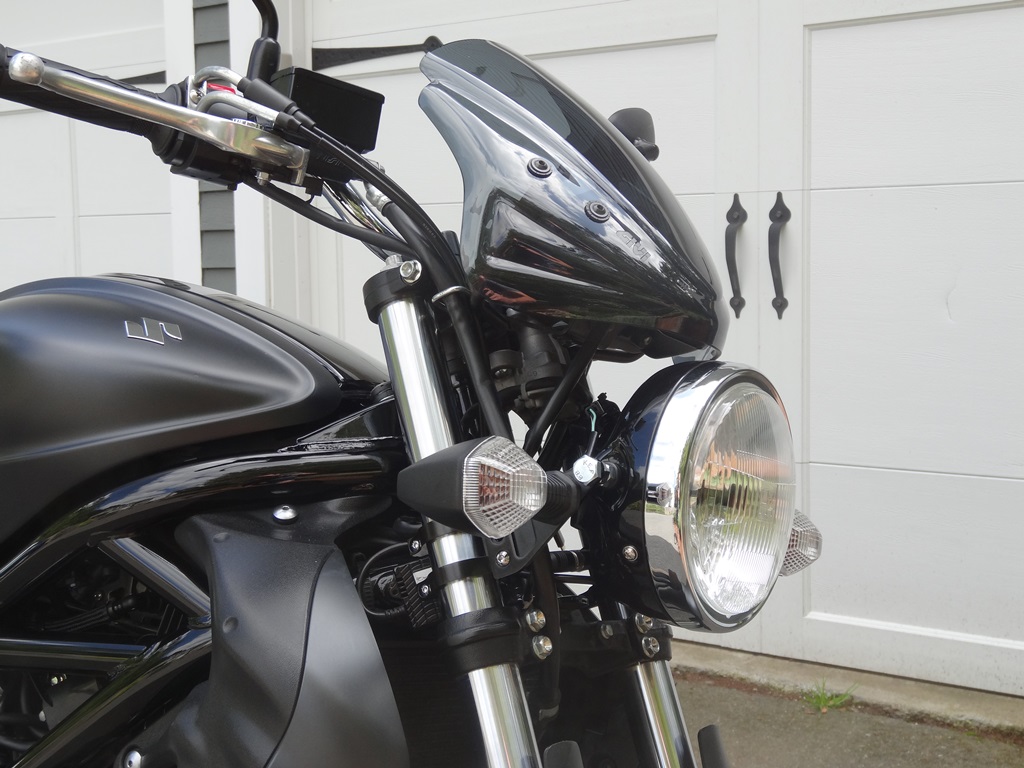
Normally I would go through the process and end with the final result, but I really like how the conversion came out, so I am leading with the finished result:
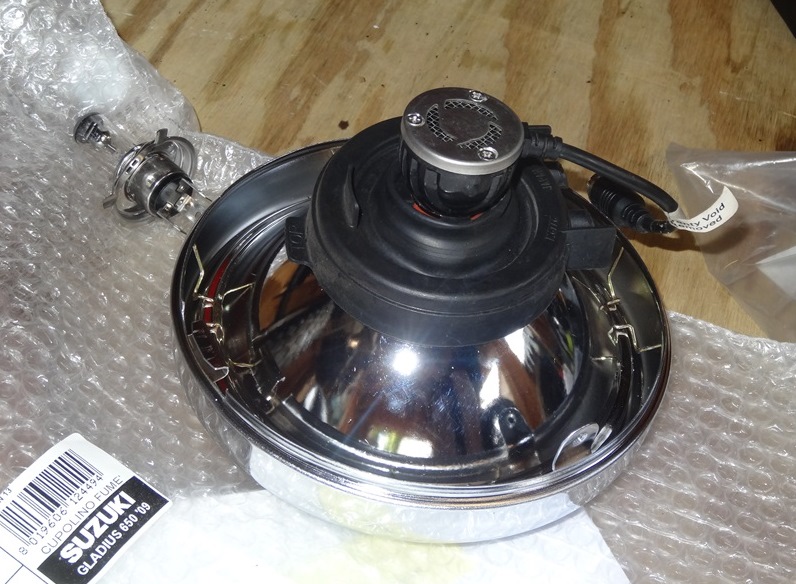
You can spend a wide range of money when converting or upgrading a headlight. Not knowing how everything was going to fit, I didn’t want to spend too much on this project. I found a 7″ round headlight bucket (6 1/4″ mounting width) from Emgo that was only $41 and some headlight brackets that would fit the 41mm fork tubes without needing to remove the forks to install the brackets for $22. A few nuts and bolts to install everything and new brake fluid for the front brake and this was about a $70 project.
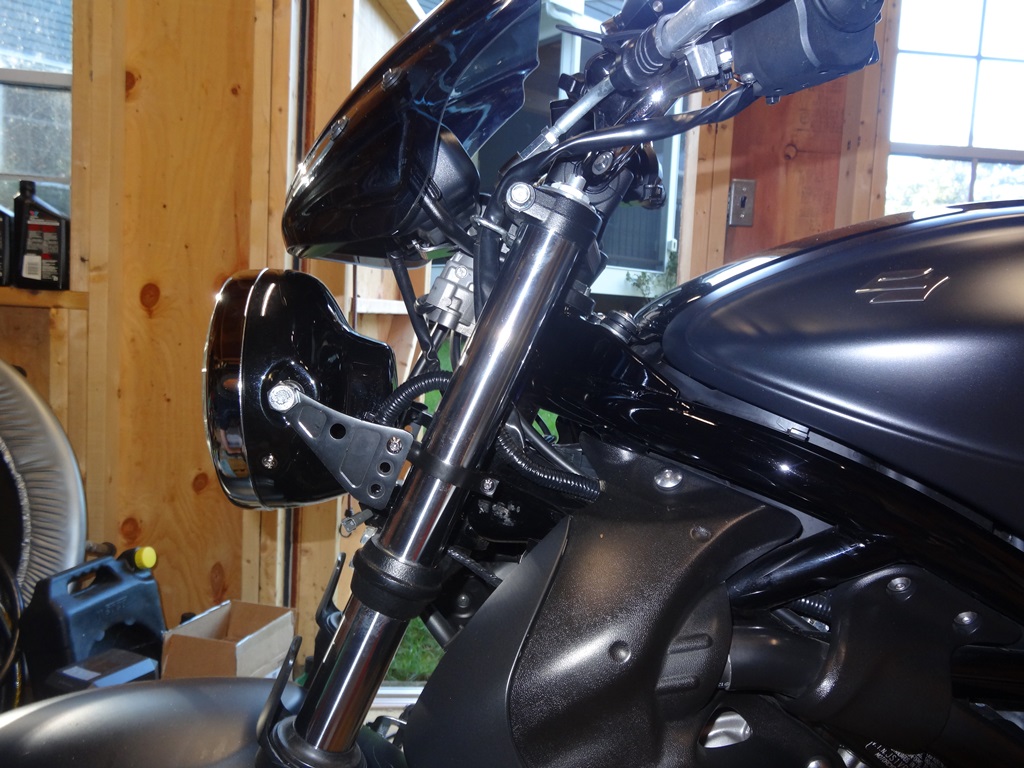
A reminder of the original headlight configuration:

During the headlight conversion I also planned to go back to the Givi windscreen. The Powerbronze windscreen was more functional, but it’s all about form now.
Removing the plastic pieces that are called headlight covers in the parts diagram exposes the two mounting bolts for the headlight assembly.
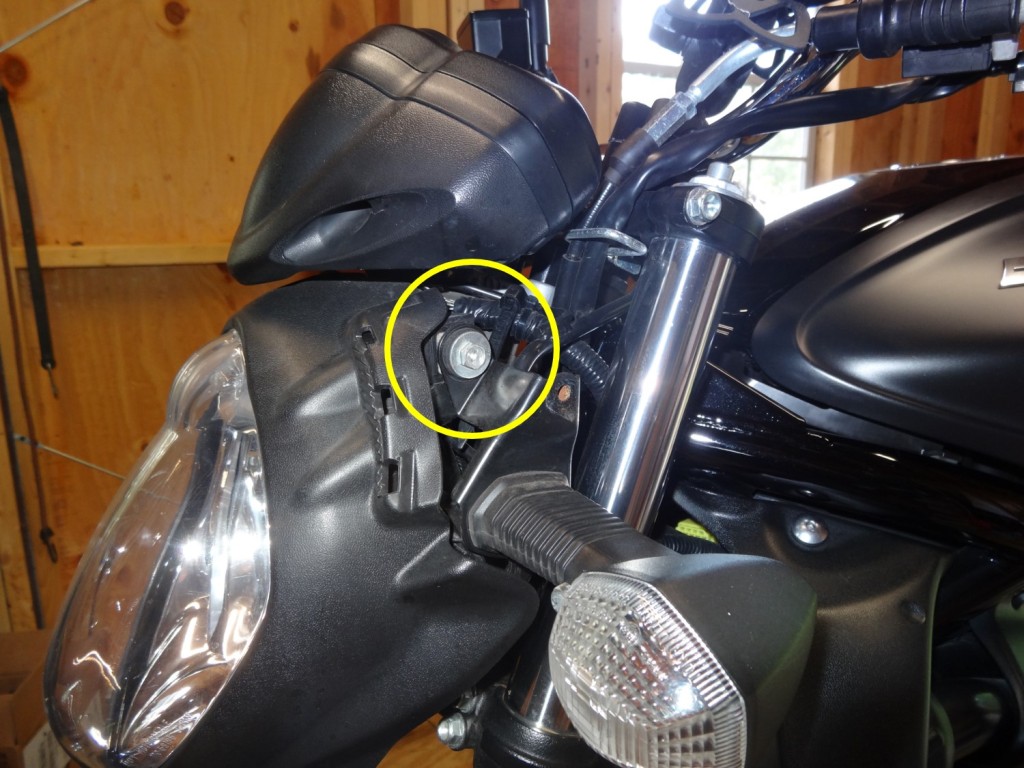
With the two bolts removed, the whole headlight assembly pivots forward on the mounting bracket which in normal scenarios would give you access for a bulb replacement.
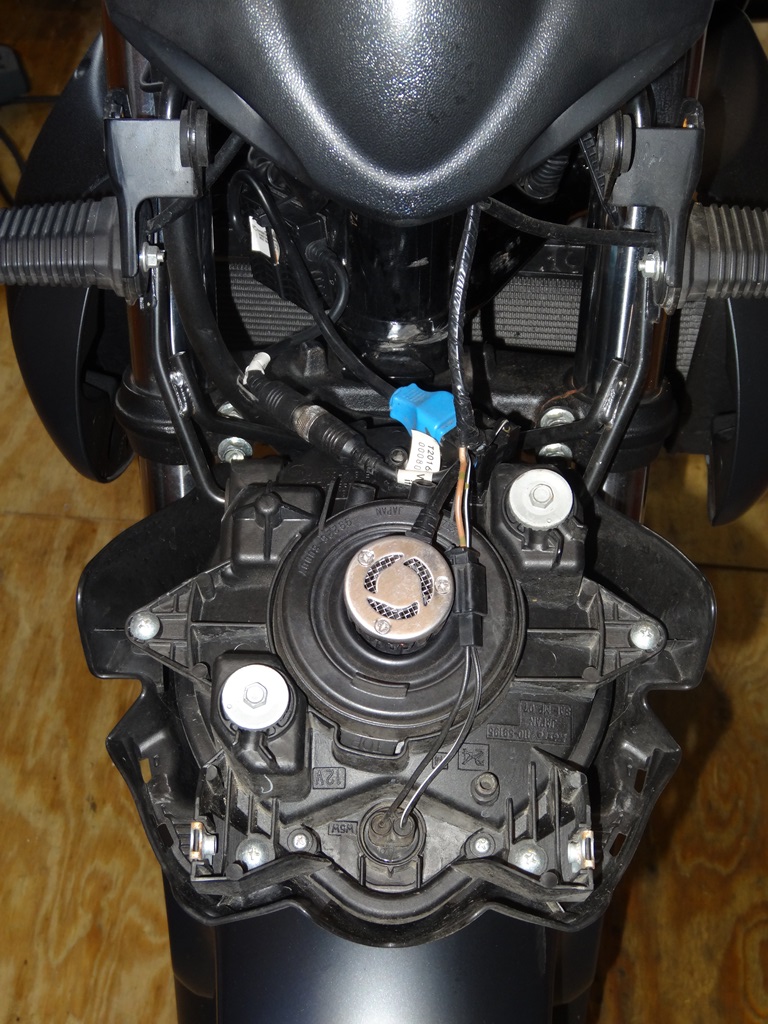
The bottom connection is just a press fit between the headlight frame and the headlight. Once the wires are disconnected, you can just pull the headlight assembly off of the frame.
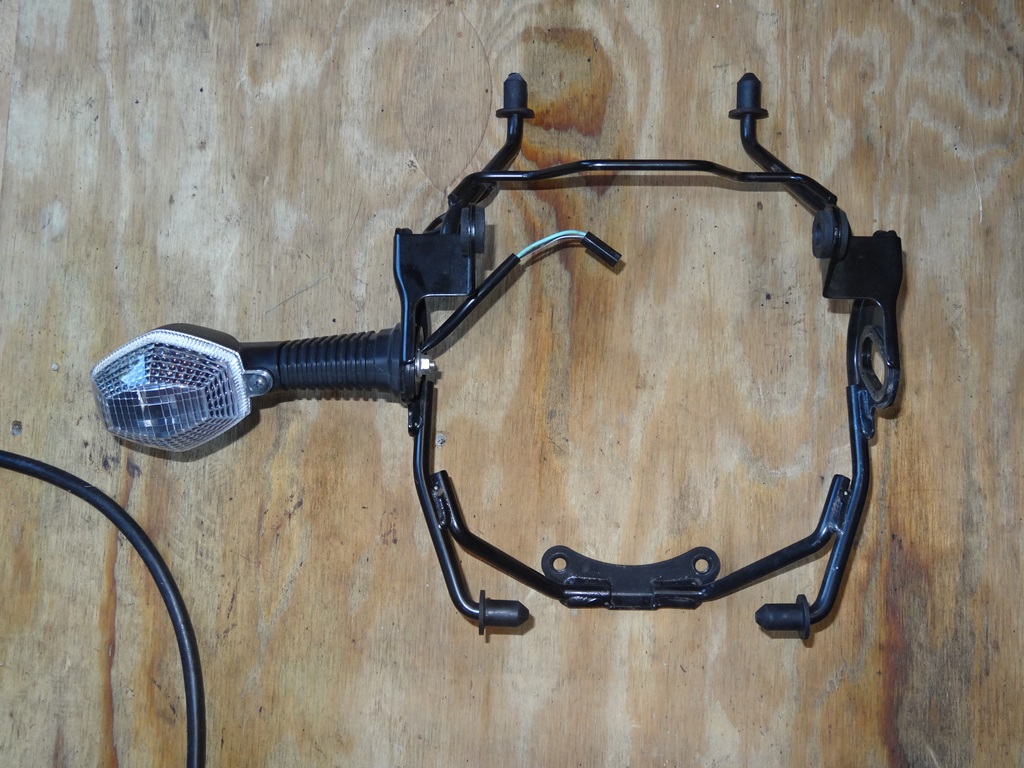
The turn signals are also mounted to this frame and unfortunately the frame itself will prevent installation of the new headlight brackets. The headlight frame is mounted to the motorcycle with two bolts to the lower triple tree and the top just inserts two prongs into the bottom of the instrument cluster for stability. Removing the lower half of the frame would not leave anyway for the upper half of the frame to be connected to the motorcycle. The entire frame would need to be removed and determine a new option for mounting the turn signals.
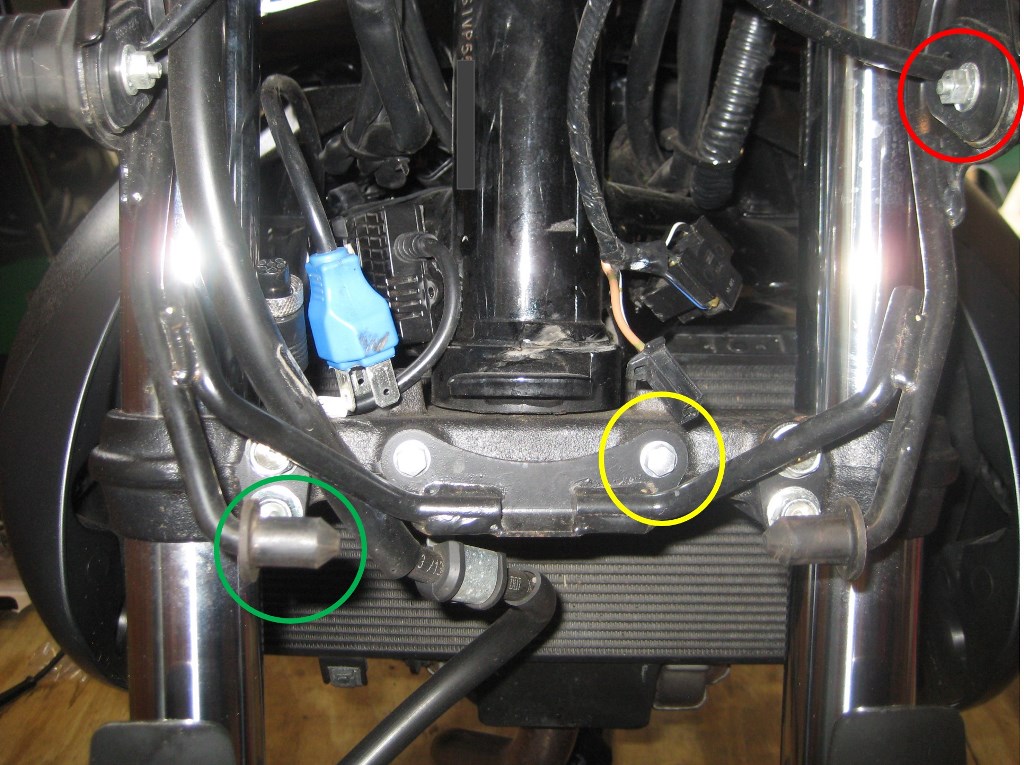
Green: Headlight assembly pivot
Red: Turn signal mount
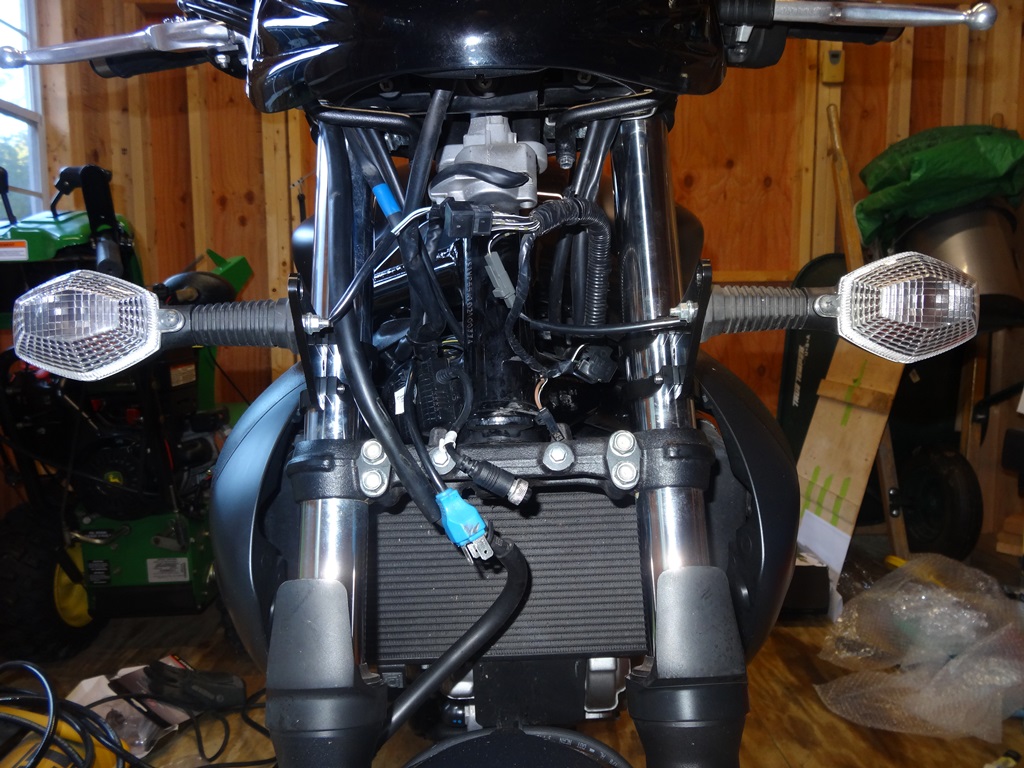
For all of the ingenuity of the headlight mounting frame, Suzuki did not make this part easy to remove. Although only two bolts connect the frame to the fork, the front brake line and the main wiring harness to the instrument gauge cluster were intertwined with the frame. Since the mounting points for the Givi windscreen were the same bolts that mount the instrument gauge cluster, I just removed the whole gauge cluster and passed it through the headlight frame. The other option was to open up the gauge cluster and temporarily disconnect just the wiring harness to pass that through.

The other piece to be removed was the front brake line. If you wanted to just remove it as quick as possible, maybe cutting the headlight frame was an option, but I knew I was due for new hydraulic fluid anyway, so I drained and removed the brake line to pass it through the headlight frame.

All that just to see if the round headlight and brackets would even fit.
A quick fit of the brackets to the forks and the the headlight mounted looked pretty good, but I needed a way to mount the turn signals which require two holes, one for the bolt and one for the wires. My best option was to use the existing middle hole of the bracket for the wires and drill a smaller hole next to it for the turn signal bolt.

The new headlight came with an H4 halogen bulb installed, but the previous owner had replaced the OEM halogen bulb with an LED unit from Speedmetal. I only found a little information about this conversion online, but you can check out what I found here. Since the wiring on the motorcycle was already configured for the LED ballast and voltage transformer I decided to install the LED bulb in to the new headlight.
With the headlight lens installed and wiring connections back together, it was ready to go. Much improved look in my opinion and a nice beam of white light too with the LED bulb.

Pingback: SFV650 – Hyperpro Street Box Suspension Upgrade | Two Wheel Junkie