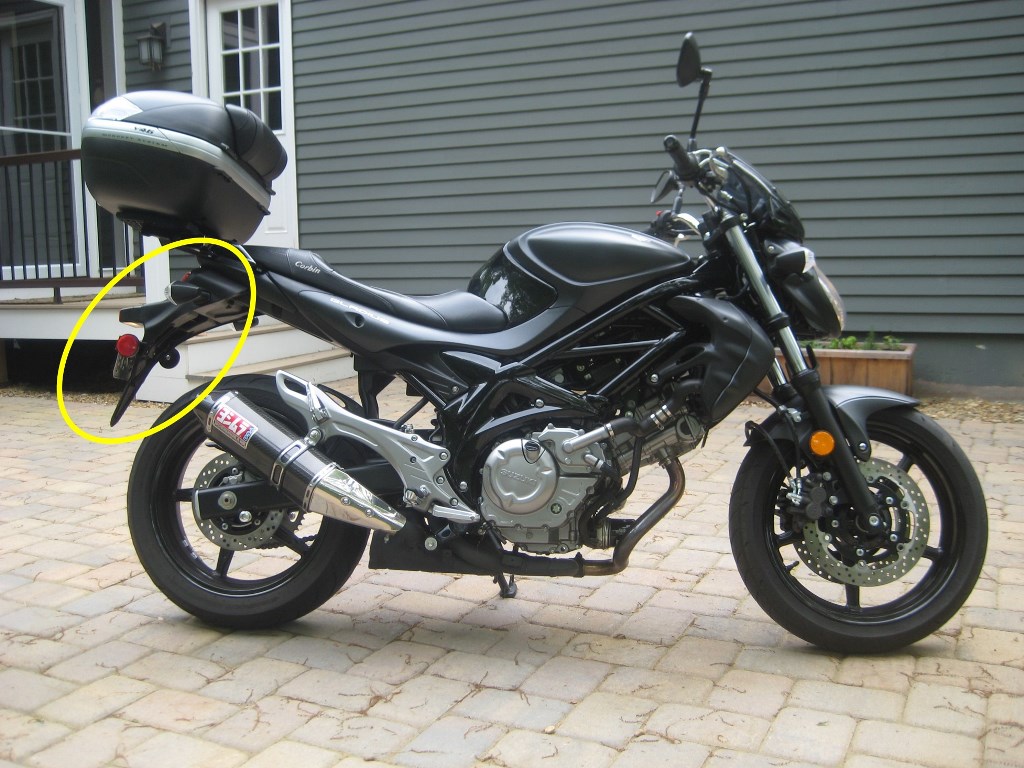
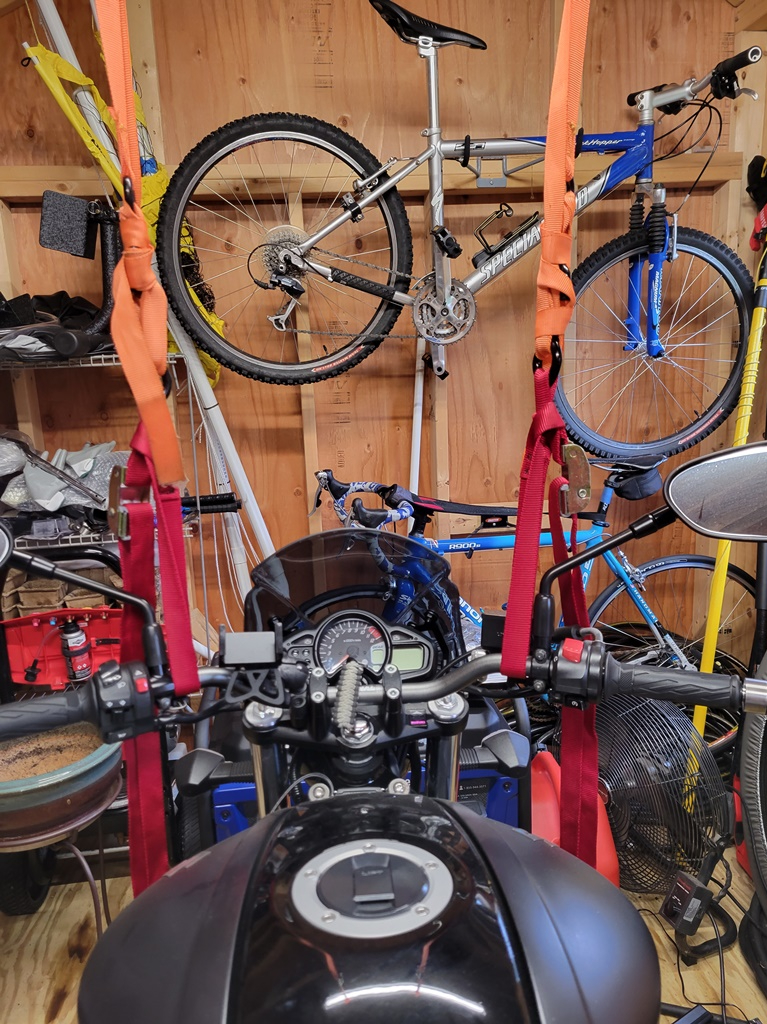
It has taken a while to get around to the installation of the Hyperpro suspension upgrade for the 2013 Suzuki SFV650. I ordered the Street Box upgrade kit from Hyperpro back in March of 2021. The parts were not received until early fall 2021 and by then I was putting stuff away for the season and had no room to work on this bike with two bikes packed into the shed for winter. Fast forward into 2022, it was a very hot summer and not much interest to be working out in the shed, so it has taken until November 2022 for me to tackle this upgrade just before putting the bikes away for winter again.
Most SFV650 riders that are looking for suspension upgrades are usually trying to find used parts from Suzuki GSX-R models that would be compatible. Front suspension upgrades are usually swapping an entire front end from one bike to another which was more than I wanted to do and although I could find compatible rear shocks on sites like eBay, I wasn’t convinced that installing a used rear shock from a bike 10 years old or more was the right way to go. The Street Box from Hyperpro provides front fork spring replacements with progressive rate springs, a new rear shock that is fully serviceable, and fork oil all tuned for the SFV650.
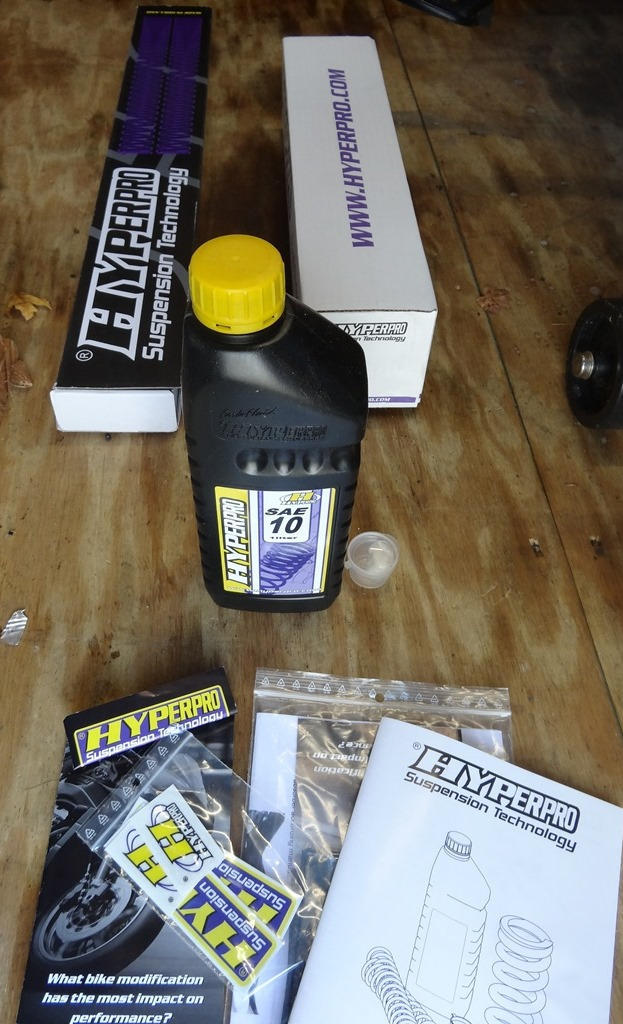
The kit contents for the Hyperpro Street Box (front springs, rear shock, fork oil, and tools/instructions):
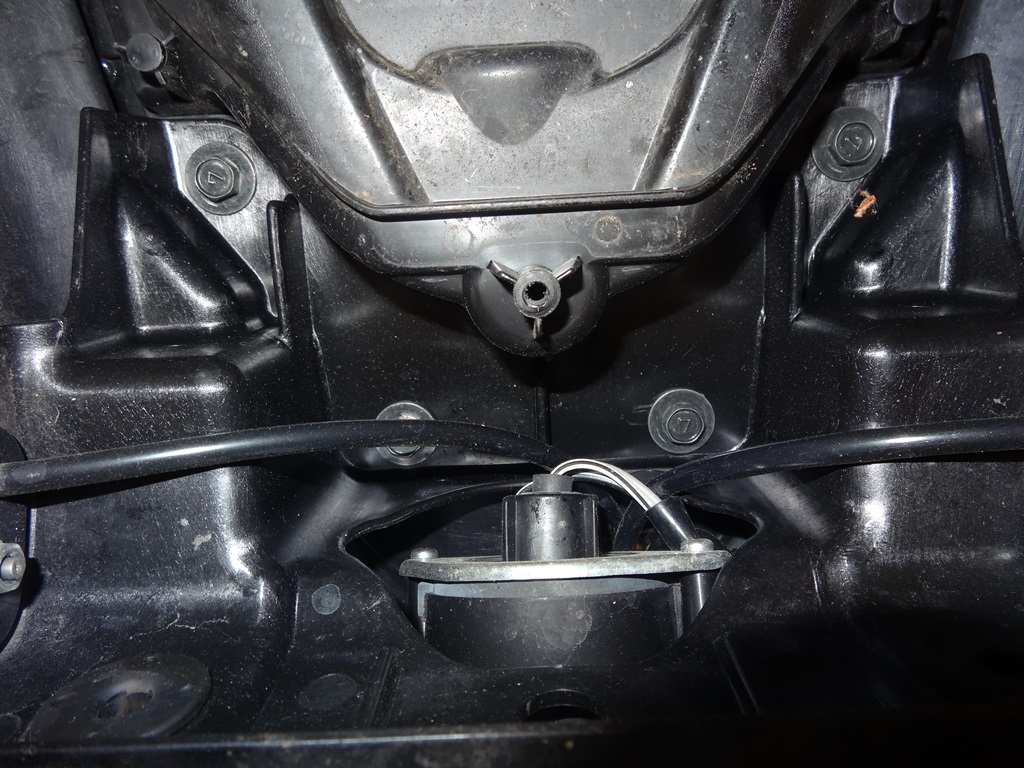
I started with the rear shock replacement which should just be unbolt the old shock and bolt in the new. I used a low tech option of an inflatable football between the rear tire and the underside of the rear frame to support the bike without the shock in place.

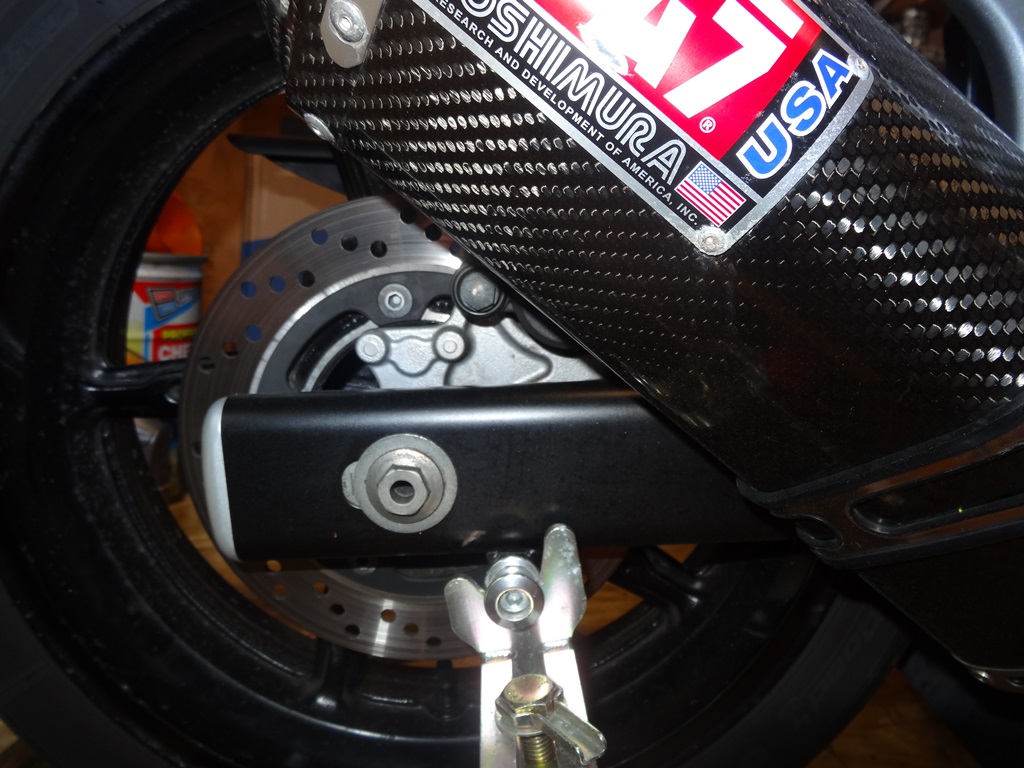
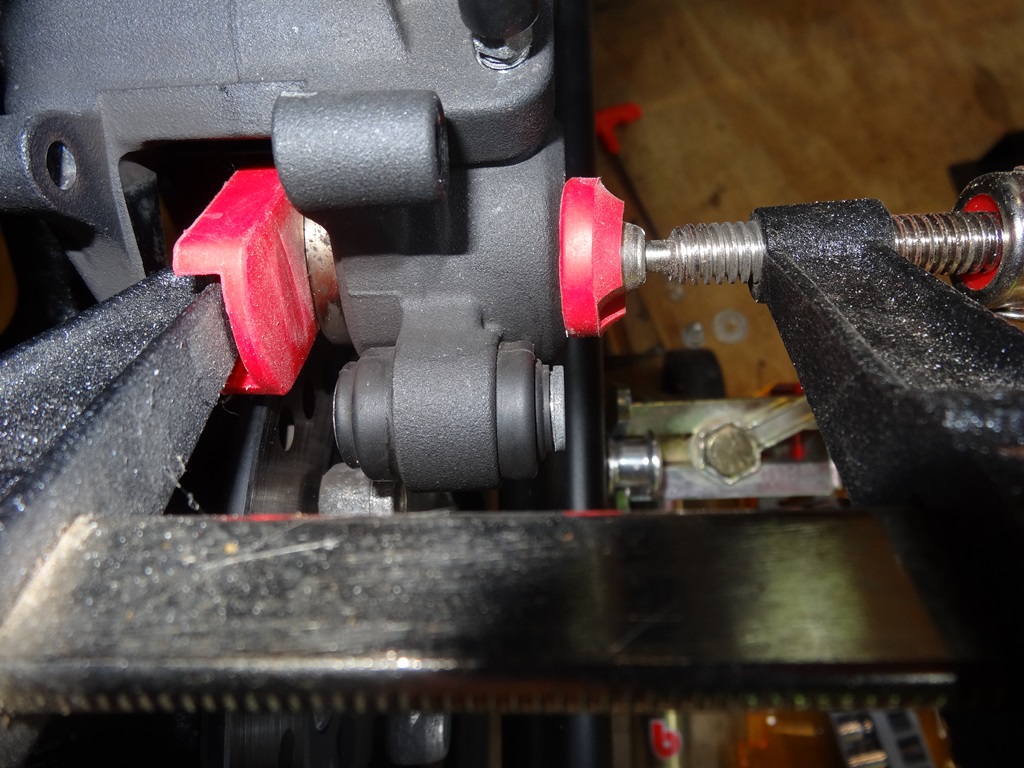
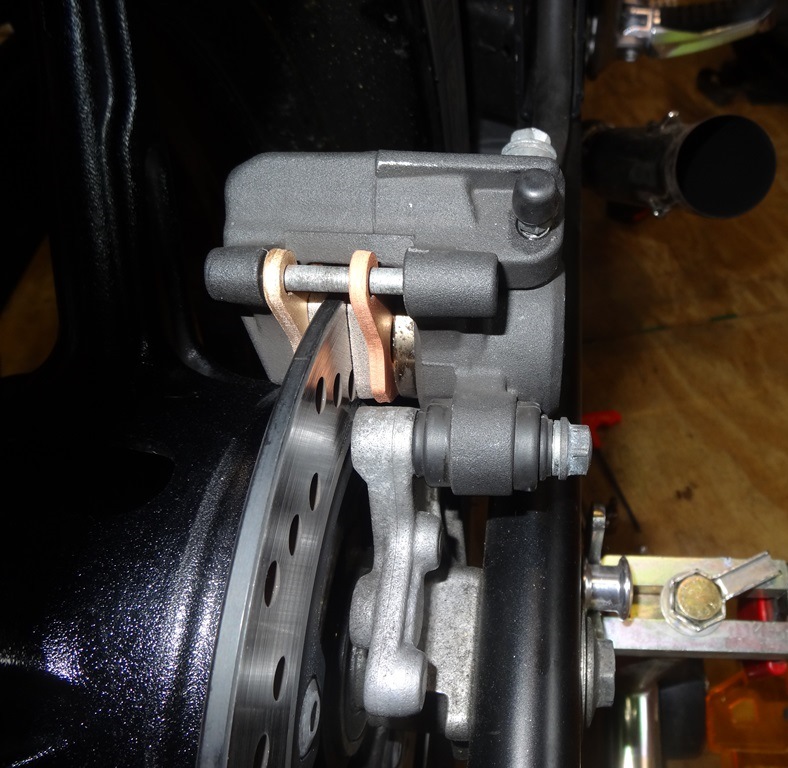
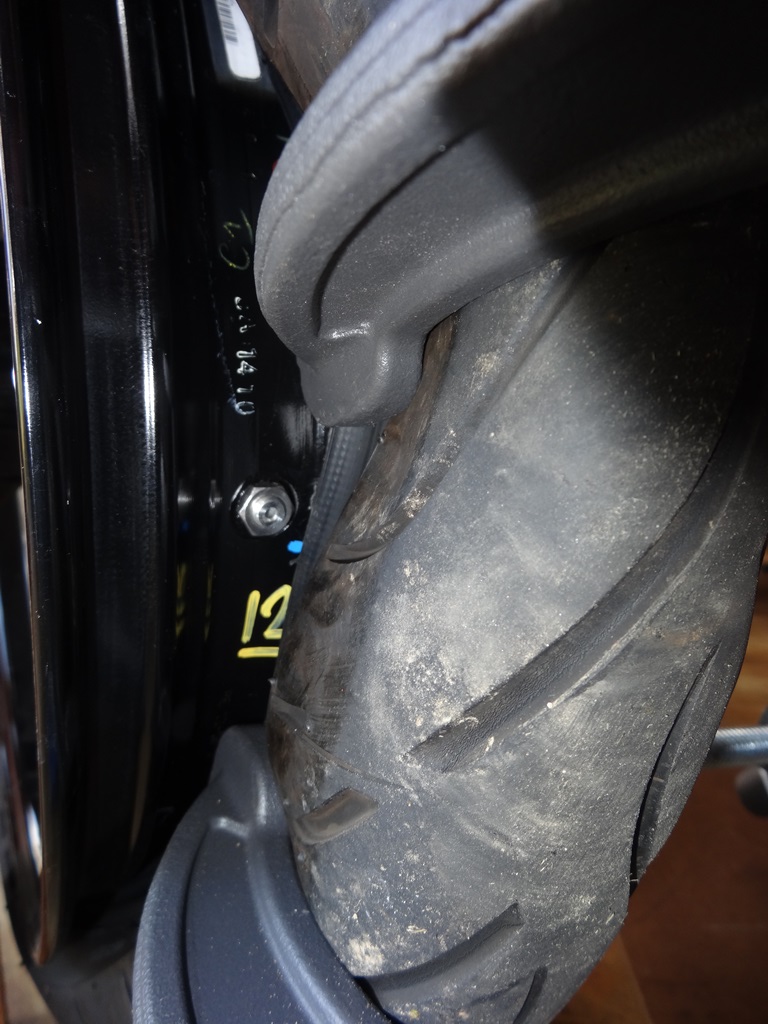
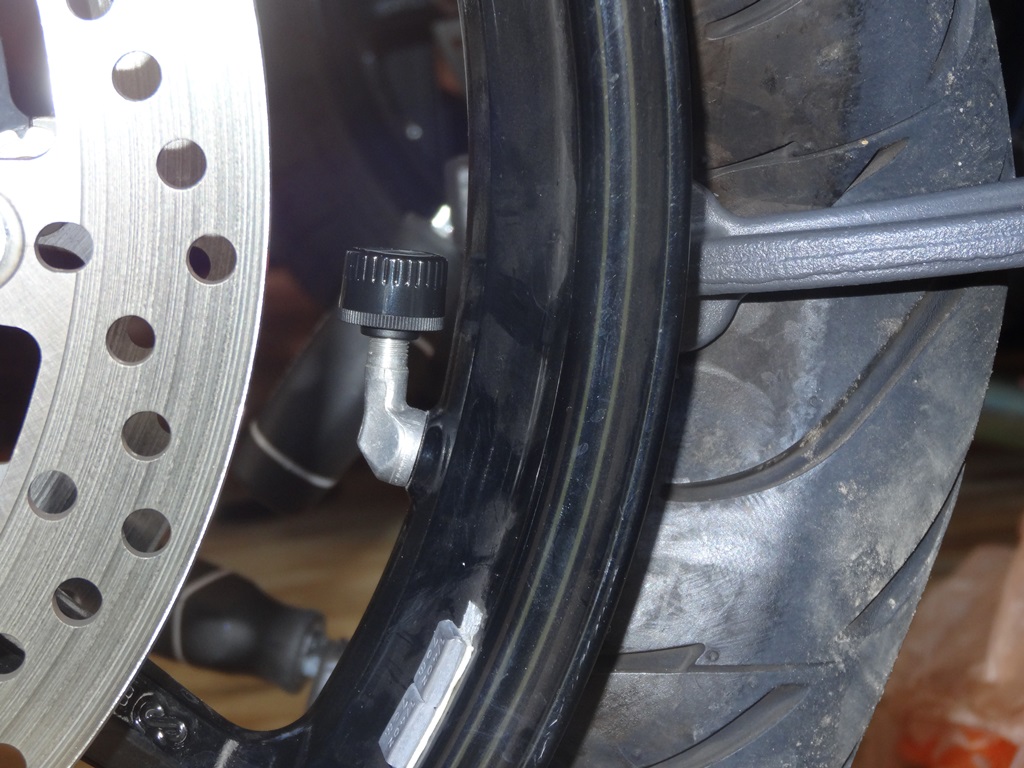
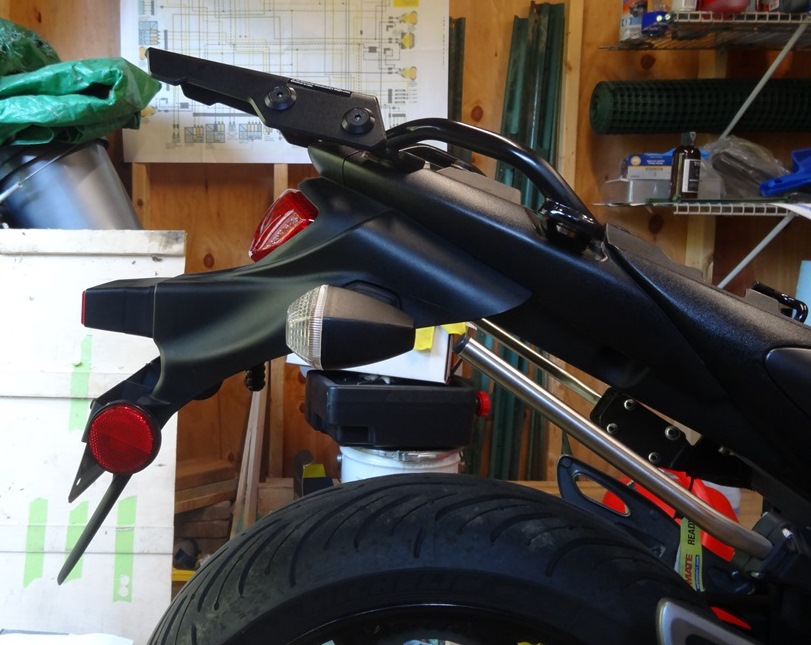
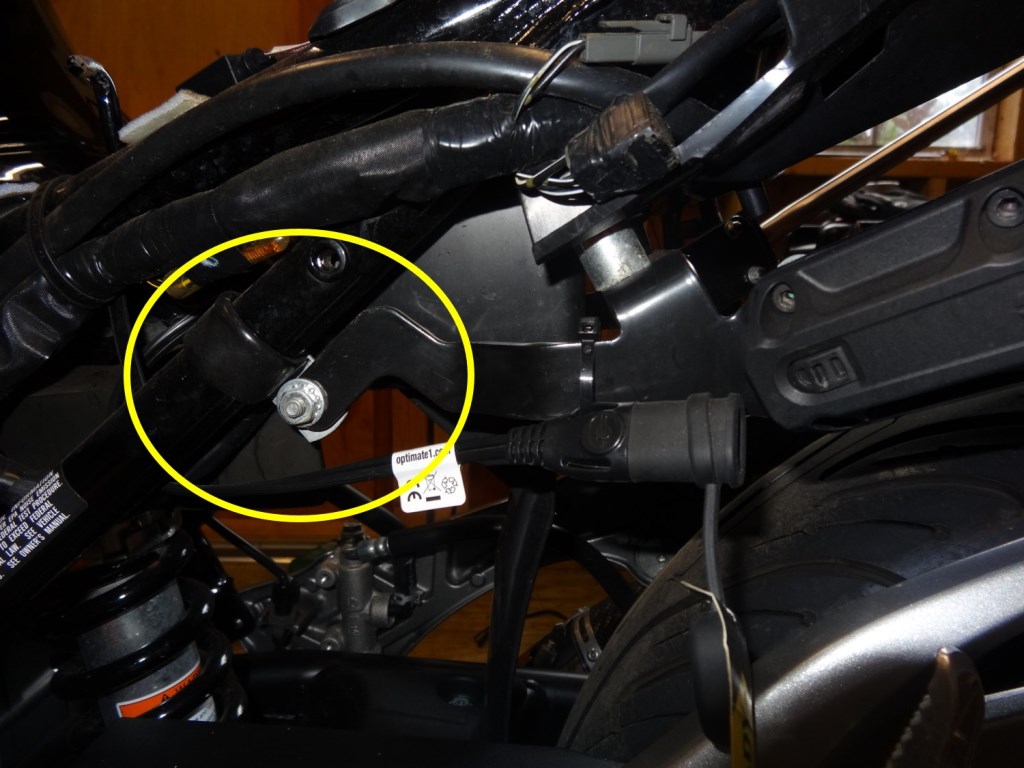
There are just two bolts holding the rear shock in place. One at the top and one at the bottom. The body work was removed to get better access to the upper bolt and the bottom bolt required removing the suspension cushion rod (green circle) so that the bolt (yellow circle) could be accessed and removed past the cushion rod.
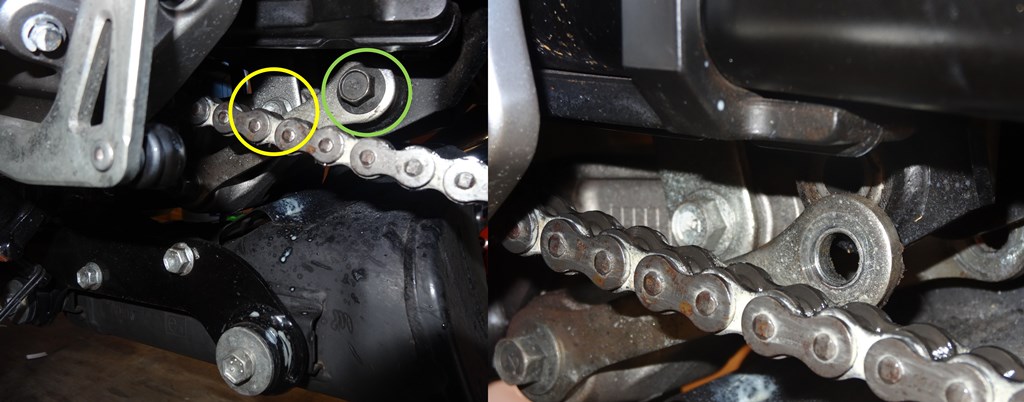
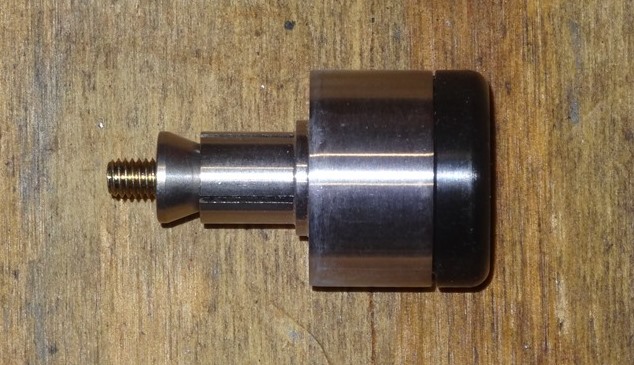
One challenge I encountered installing the new rear shock was that the bottom bolt is threaded into the shock yoke on the orignal shock and a nut is press fit to the new shock yoke.
The OEM shock bolt is a different thread than the nut on the new shock. The OEM bolt was an M10 with 1.25 pitch thread. The new nut is M10 with 1.50 pitch thread. Luckily, the local hardware store had the right length bolt in M10, 1.50 pitch and appropriate bolt class, Class 8.8, for this installation.
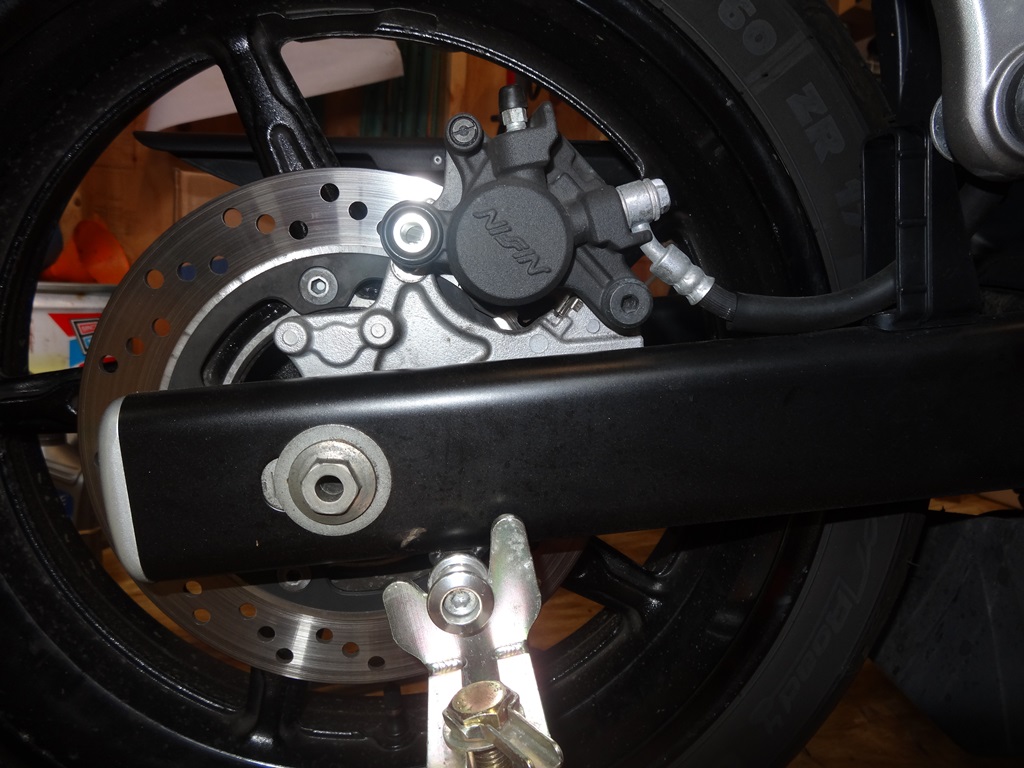
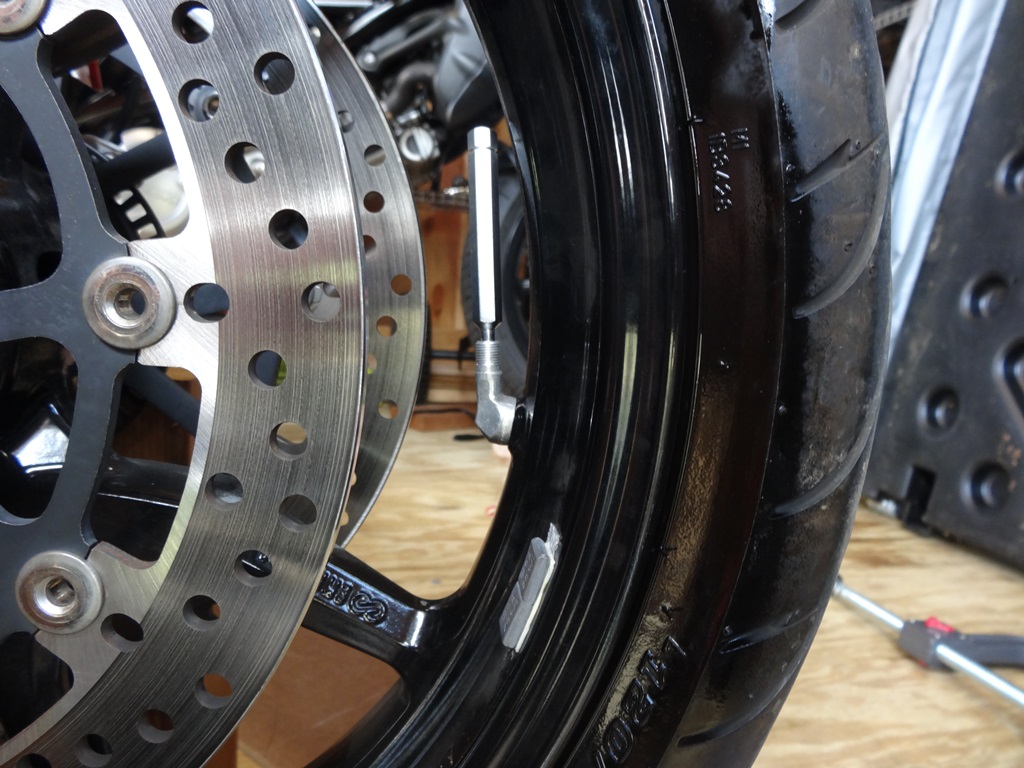
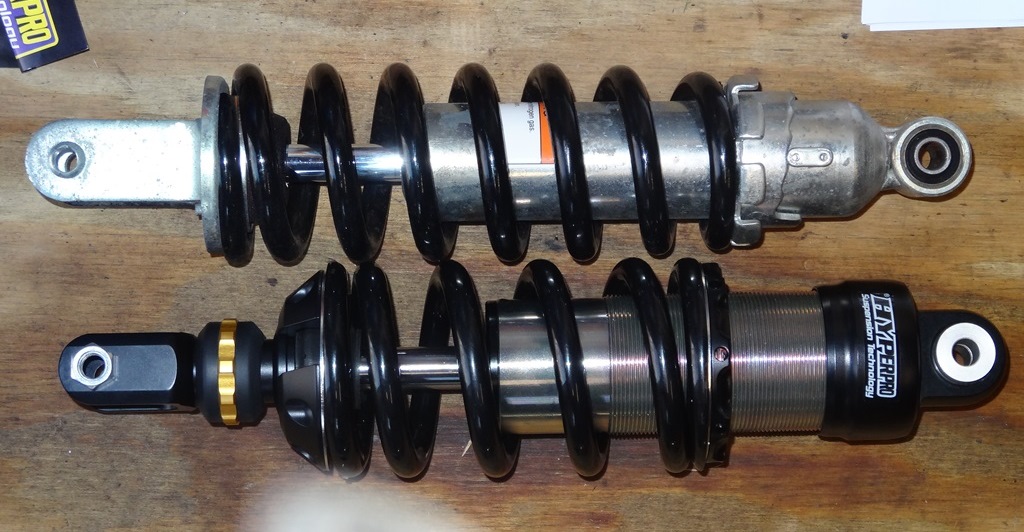
You can also see in the photo above that the OEM rear shock only has preload adjustment, while the Hyperpro rear shock adds rebound adjustment.
Hyperpro provides the basic setup info for the rear shock.

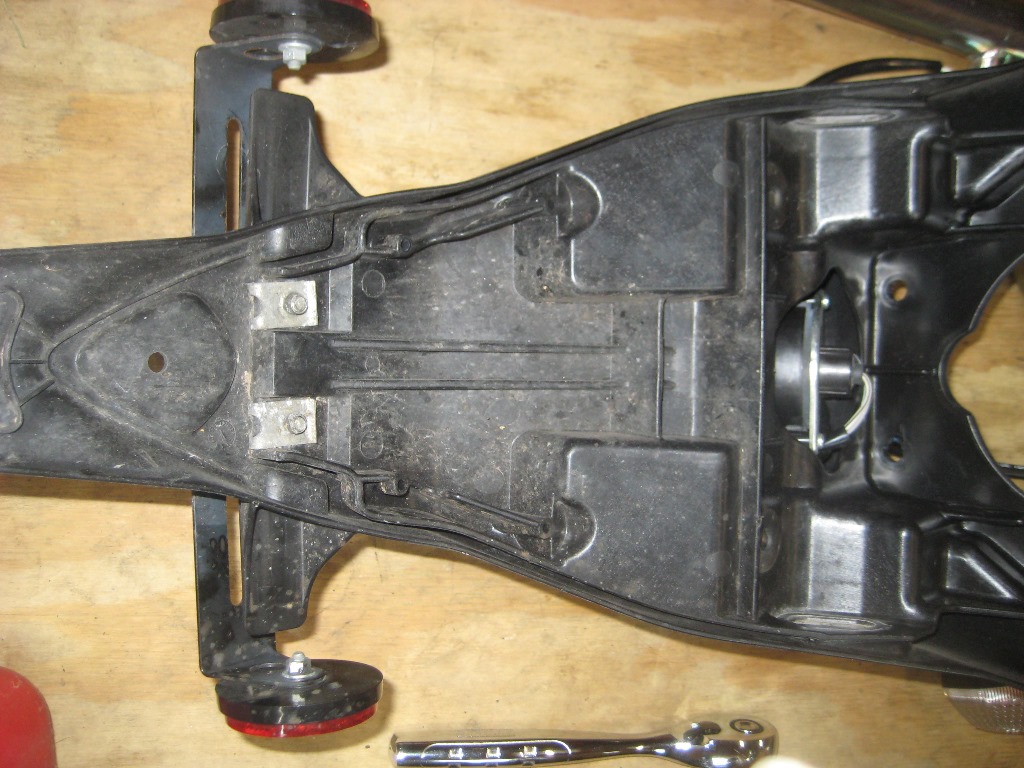
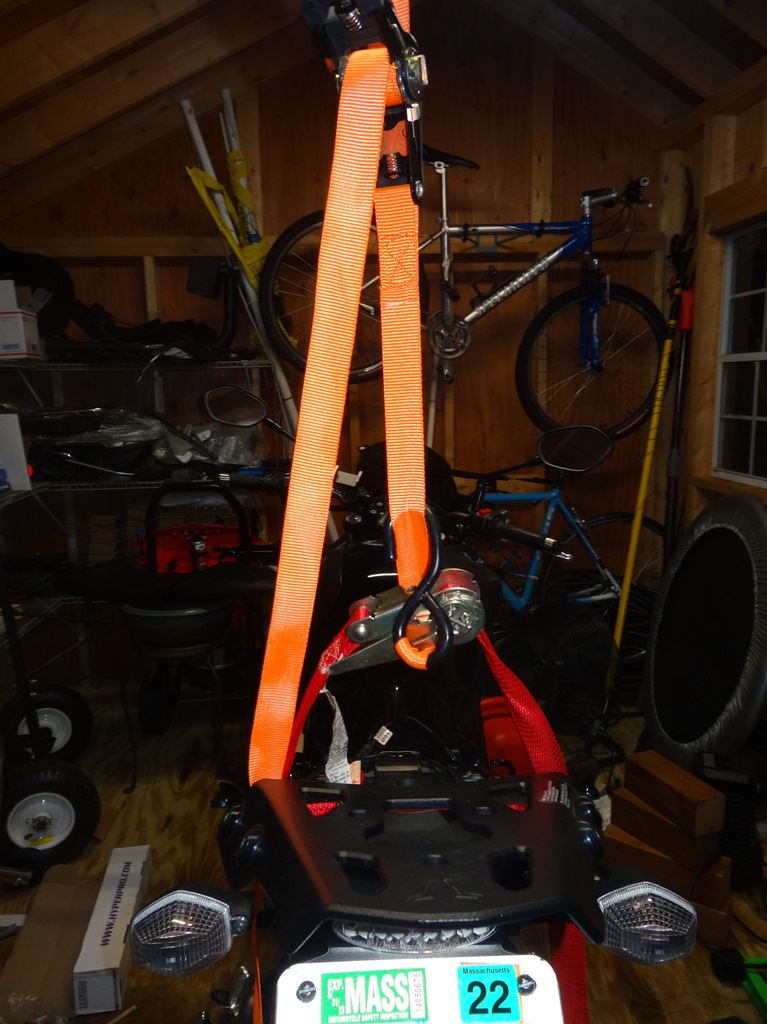
Although the inflatable football worked for the temporary support to remove the rear shock, once the new shock was bolted in, more weight needed to be removed from the rear end to get the cushion road to line up again. Luckily in the shed, there are overhead trusses that I could strap onto. Raising the rear frame one click at a time until the cushion rod and hole were realigned for the bolt to pass through.
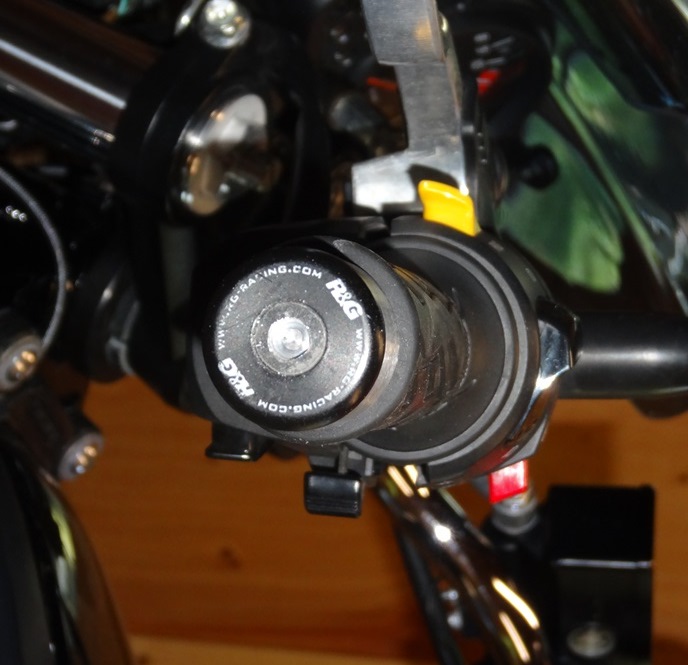
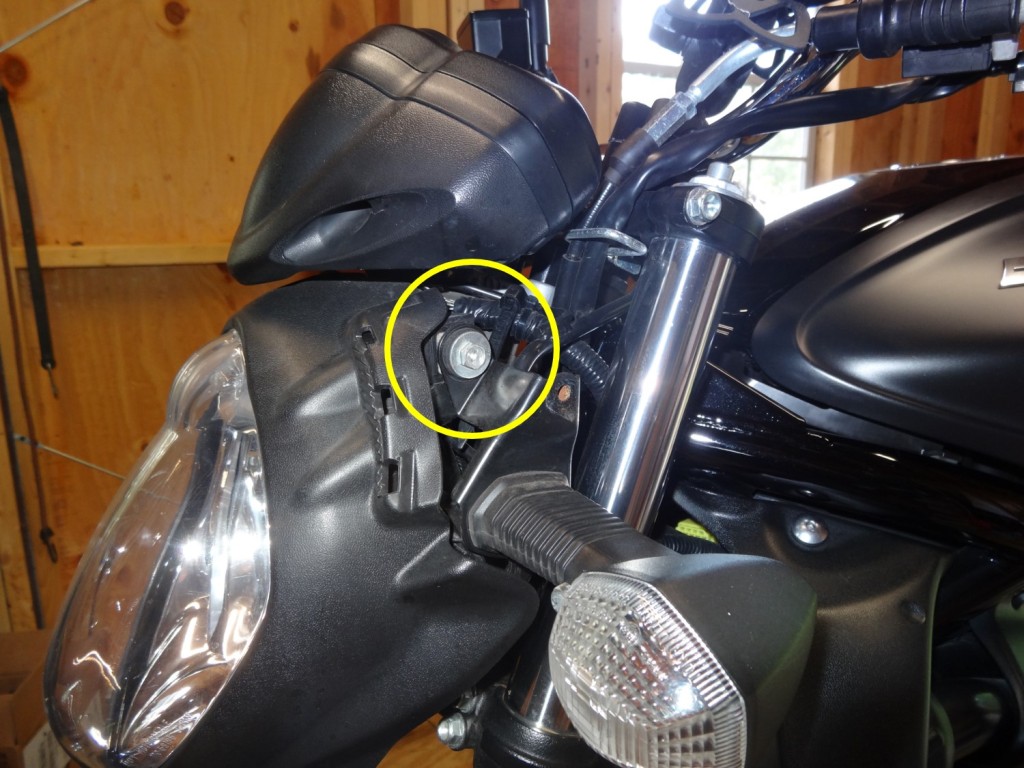
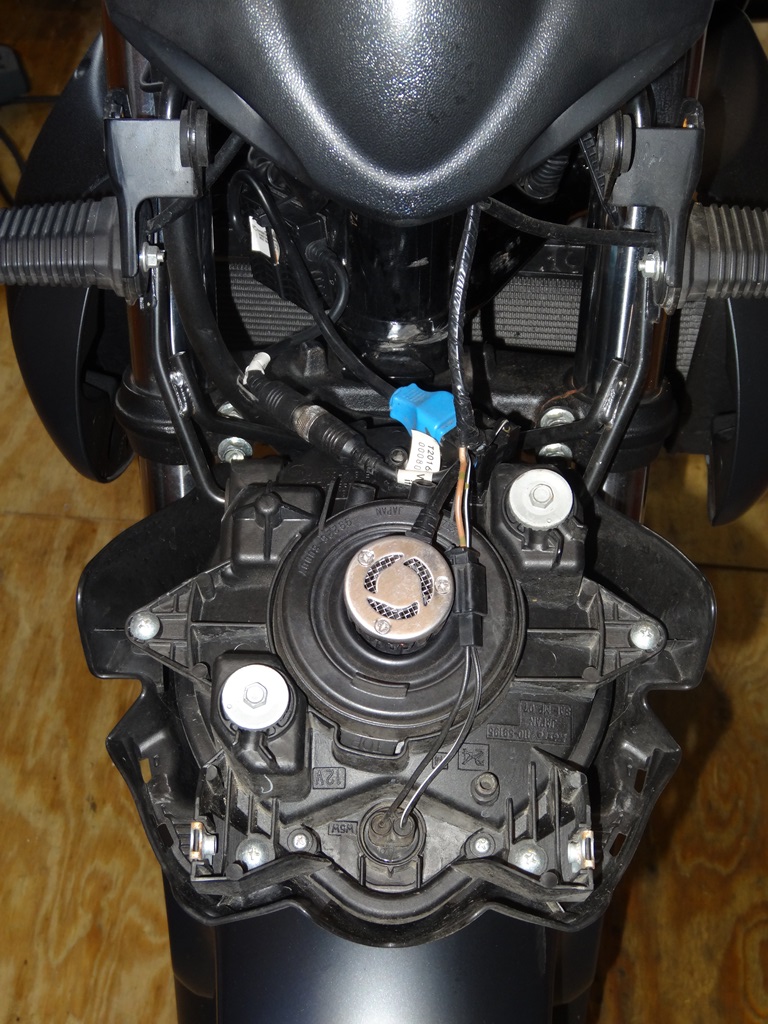
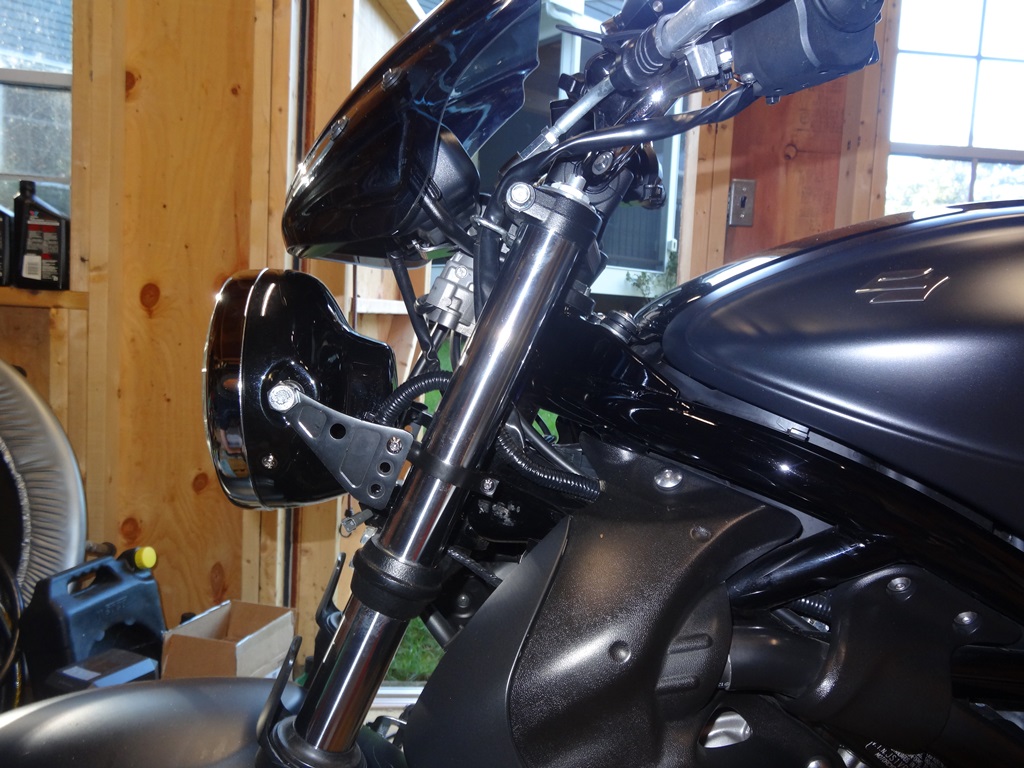
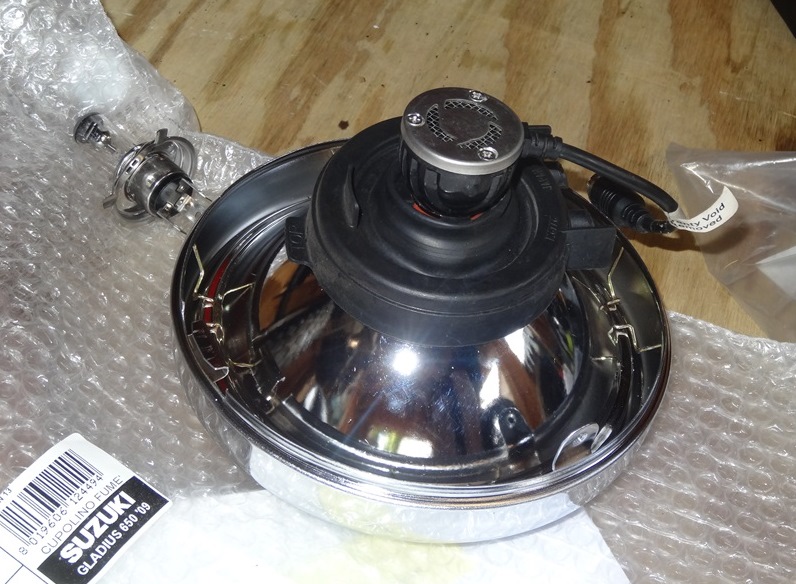
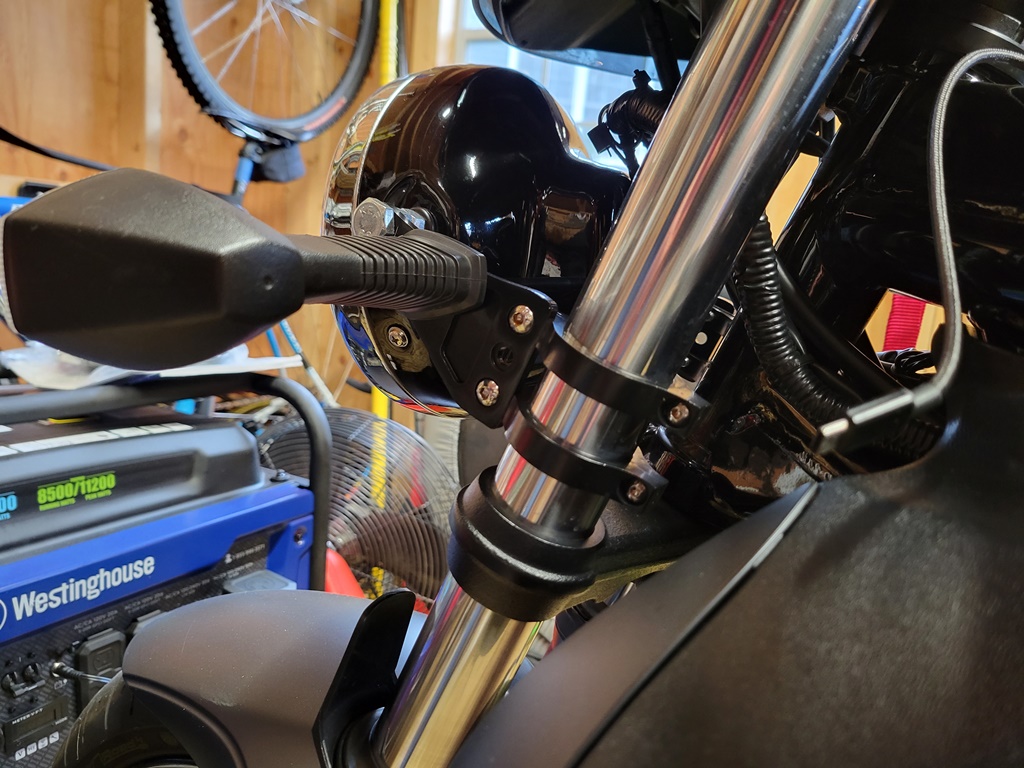
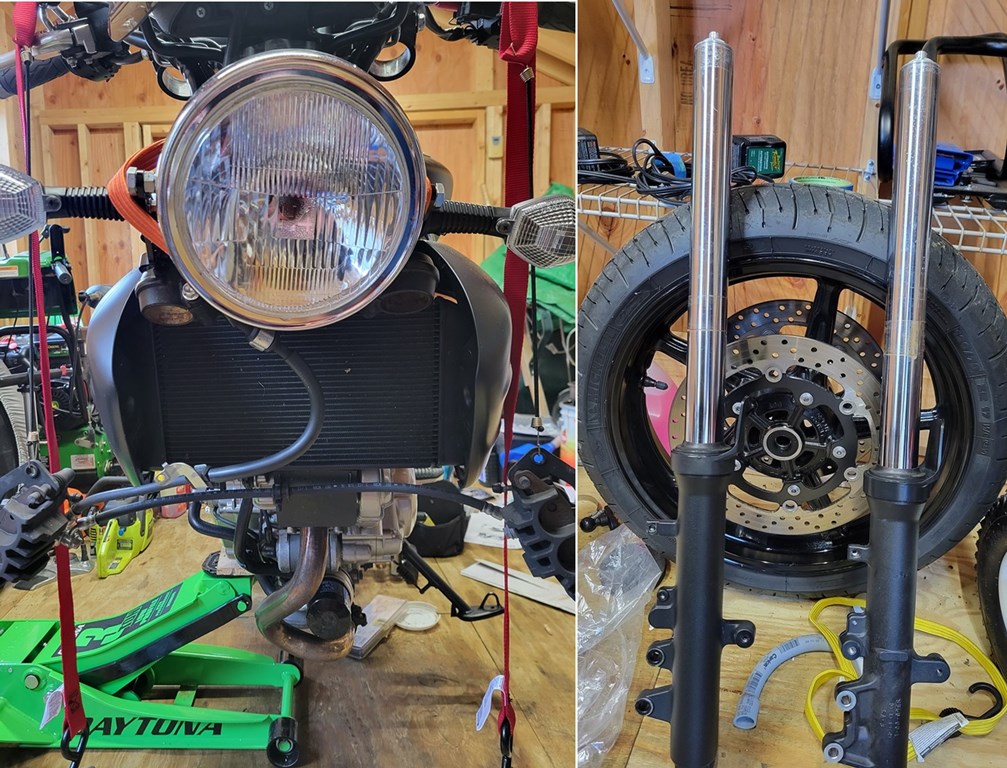
With the rear shock installed, it was time to move on to the front spring replacement. This was made a little more challenging by the fact that I previously modified the front head light that was now attached to the fork tubes and would also need to be removed.
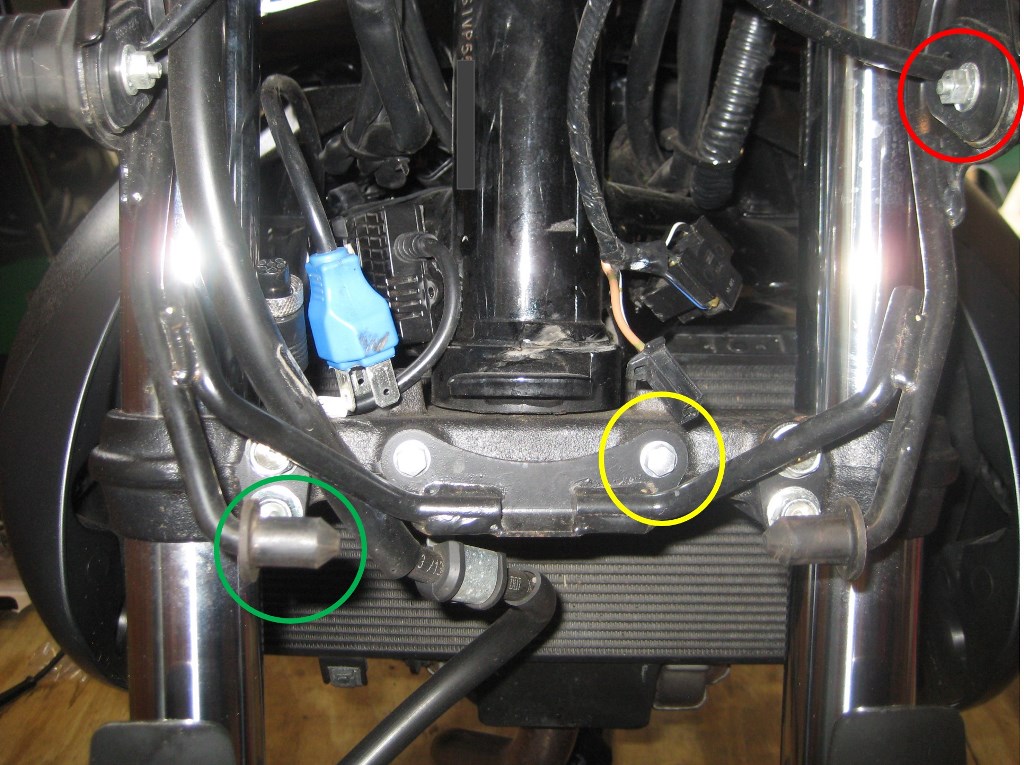
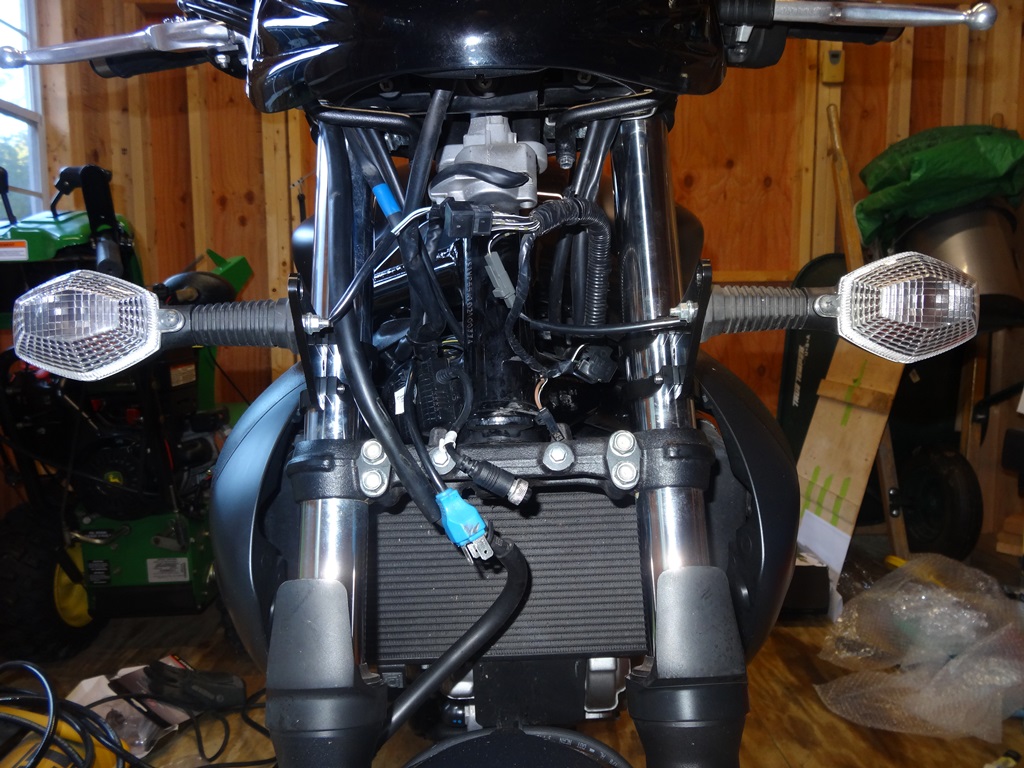
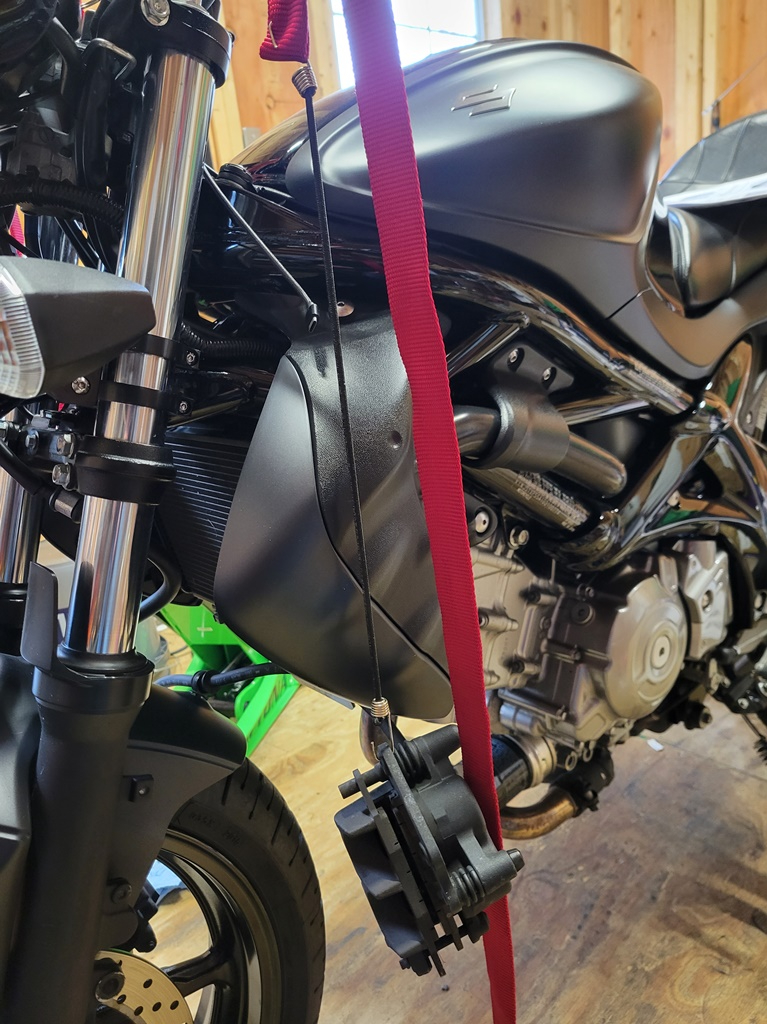
Removing the front forks, there is no other option than to suspend the front end of the bike from the overhead truss in the shed.
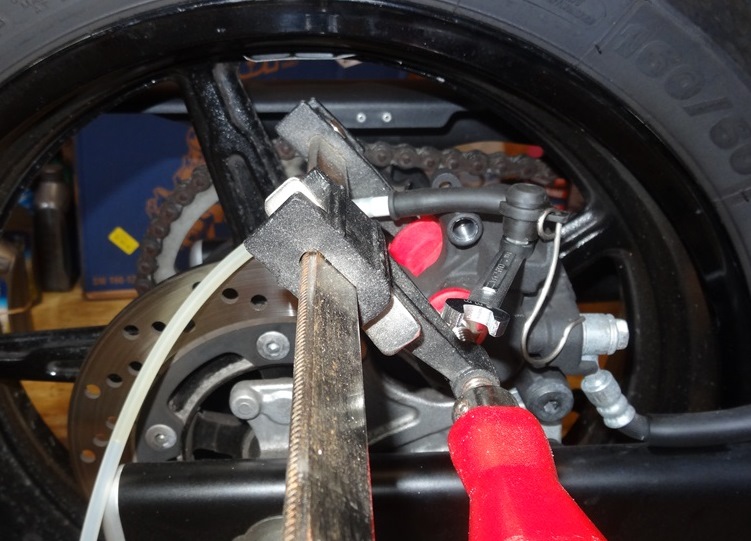
The straps also provided a location to support the front brake calipers so that they weren’t hanging by the brake hoses.
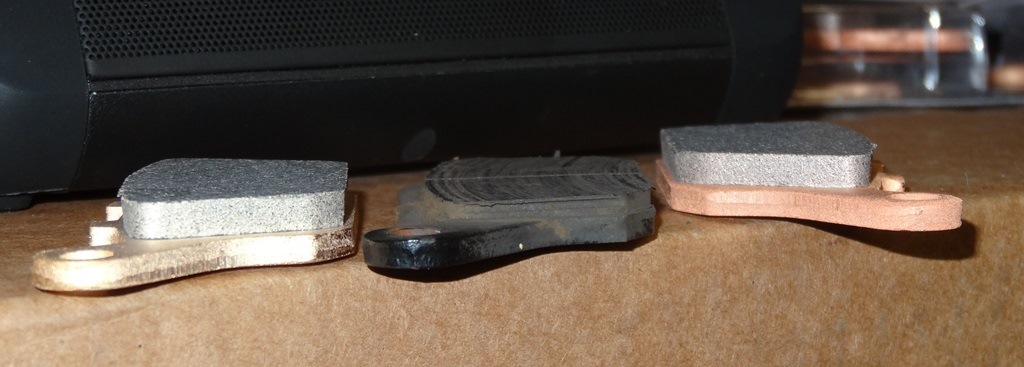
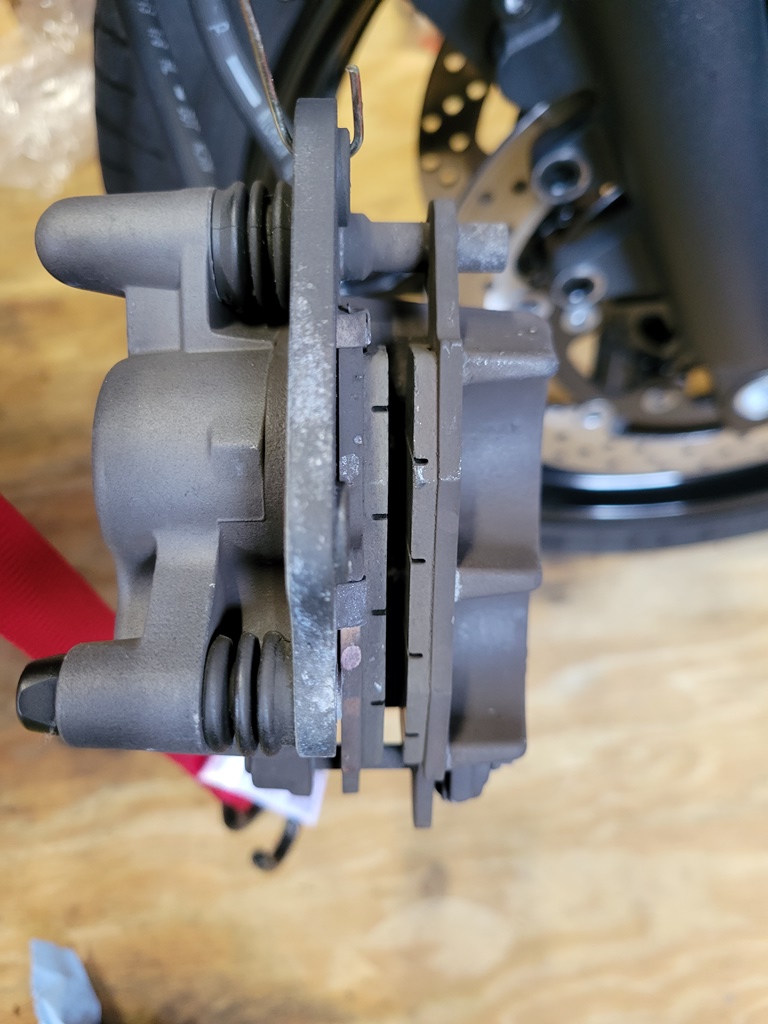
This also gave me a chance to inspect the front brake pads that I did not do when I replaced the rear brake pads after experiencing premature wear on the rear pads. They were in good shape as expected.
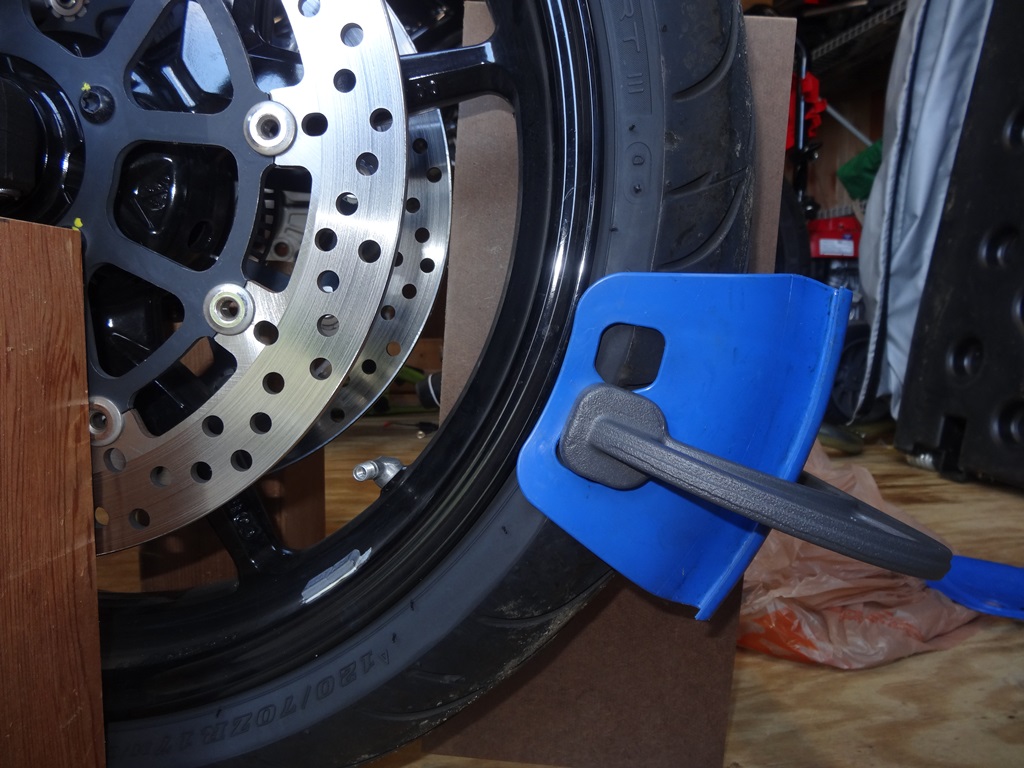
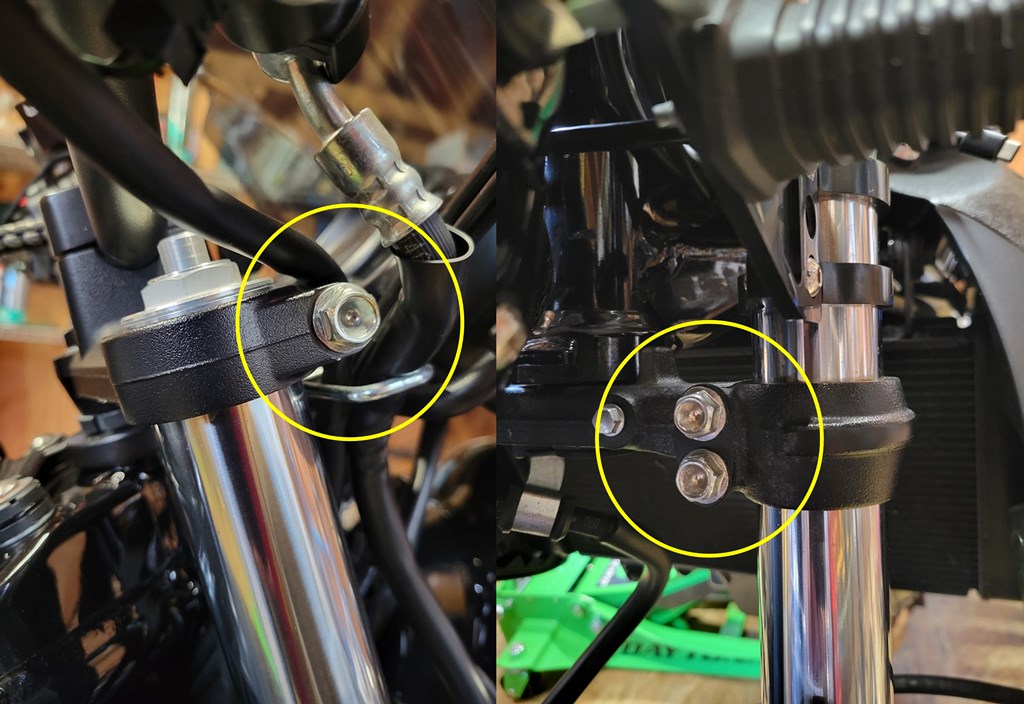
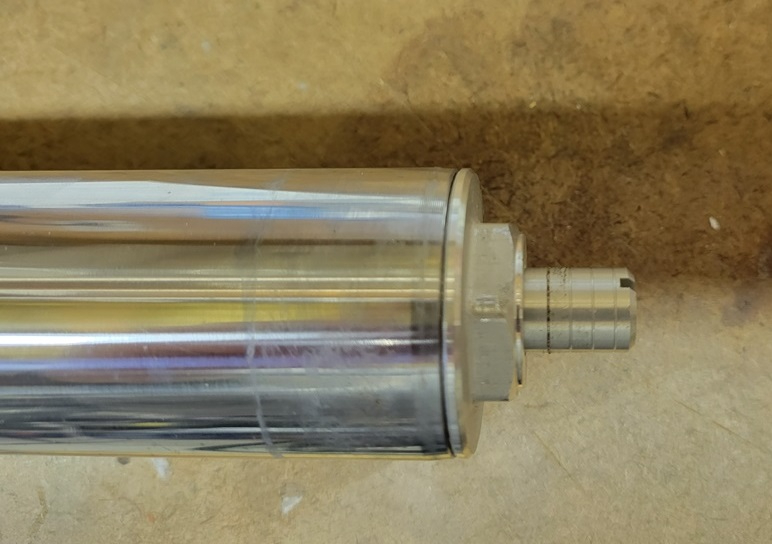
Once the front wheel and fender are removed, it is just a few pinch bolts on each fork leg to remove the fork tubes out from the triple tree.
With forks removed, I moved inside to complete the spring swap.
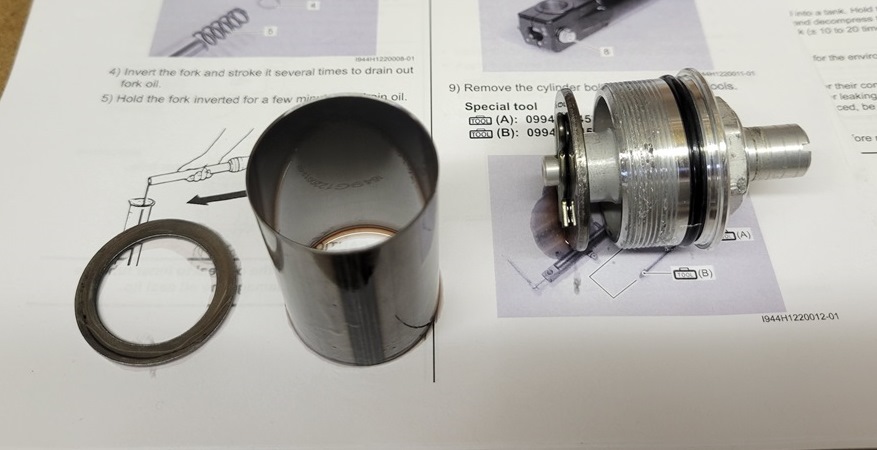
First thing I did was to back off the preload adjustment all the way to remove some spring tension from the fork cap.
The washer, spacer, and fork cap will be reinstalled with the new spring.
The SFV650 service manual indicates that each fork leg requires 517ml of fork oil, but the new springs have more mass than the old, so Hyperpro provides instructions to fill each fork leg to 120mm below the top of the fork tube.
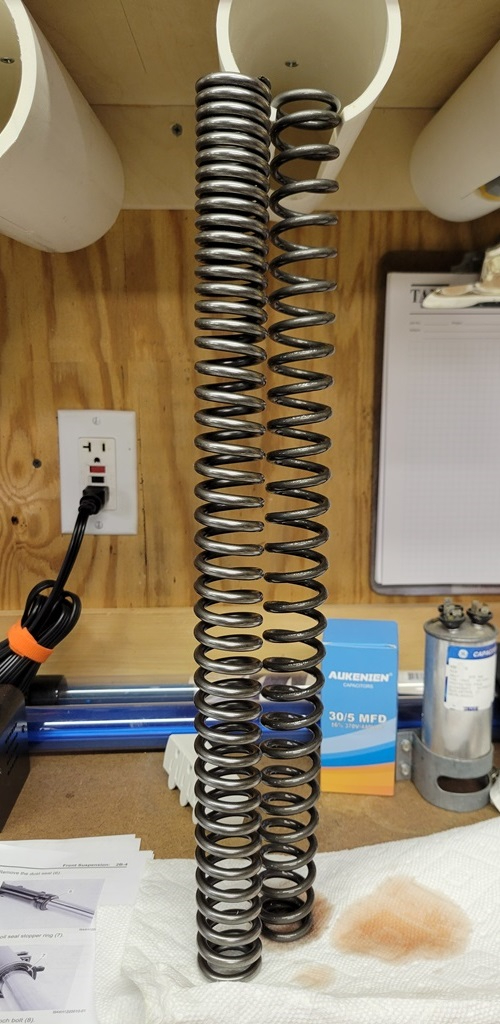
New progressive spring on the left vs the OEM spring on the right.
Rather than try to balance the fork tube and attempt to measure 120mm down into the tube while adding fork oil, I strapped the fork tube to a workbench leg and created a gauge out of wood that would hang 120mm into the fork tube. Leaving me free to pour in the fork oil and watch as it approached the gauge height.
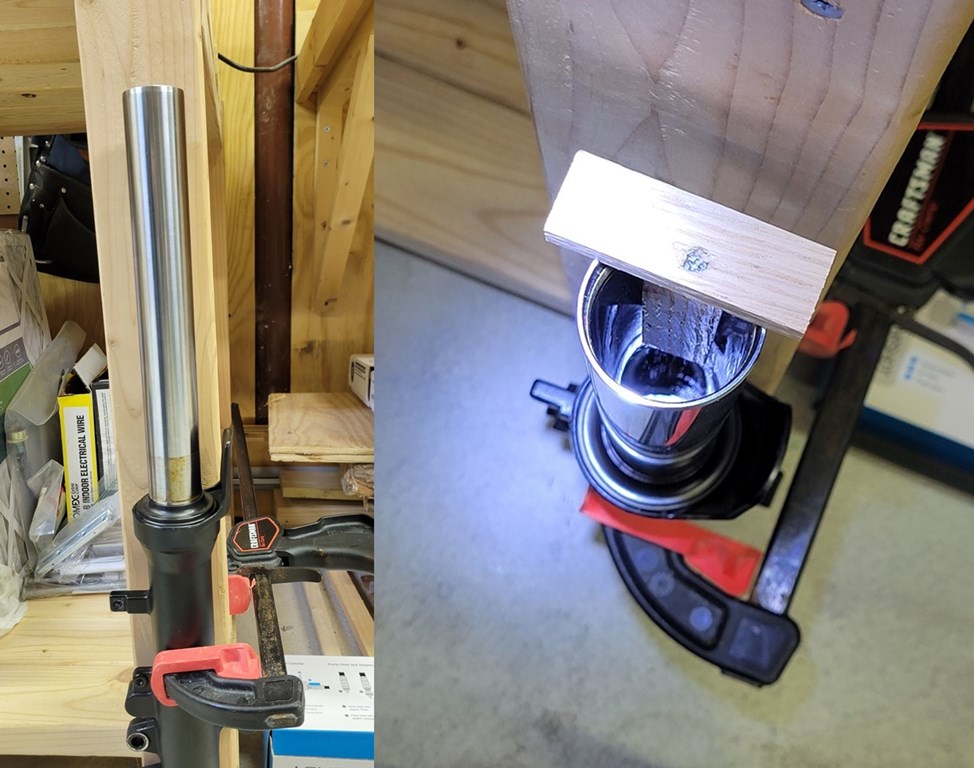
After pumping the fork tube a bunch of times to get the air bubbles out, more fork oil needed to be added to the 120mm level.
The new spring was inserted with the tighter turns at the top to not displace as much fork oil. The washer spacer and fork cap were replaced with final torquing to be done after the fork tube was back in the triple tree.
The same procedure was done on the second fork to replace the spring. The interesting discovery, was that one fork leg had fork oil and the other had automatic transmission fluid and I am assuming that both forks had not been serviced before this upgrade.

With both springs installed, it was back out to the shed to reinstall the fork tubes. With the fork tube only inserted through the lower pinch bolts, the fork cap was torqued to the proper specification. There would not be room for the torque wrench if the tube was fully inserted to the triple tree.
The specification for how deep the fork tube is inserted to the triple tree is 1.5mm from the top of the tube to the top of the triple tree. Not an easy measurement to read, but my ruler was also approximately 1.5mm thick, so I used it as a visual height gauge instead.

Hyperpro provided a similar setup table for the front forks, but the forks still only have preload adjustment which should be offset by the progressive springs.

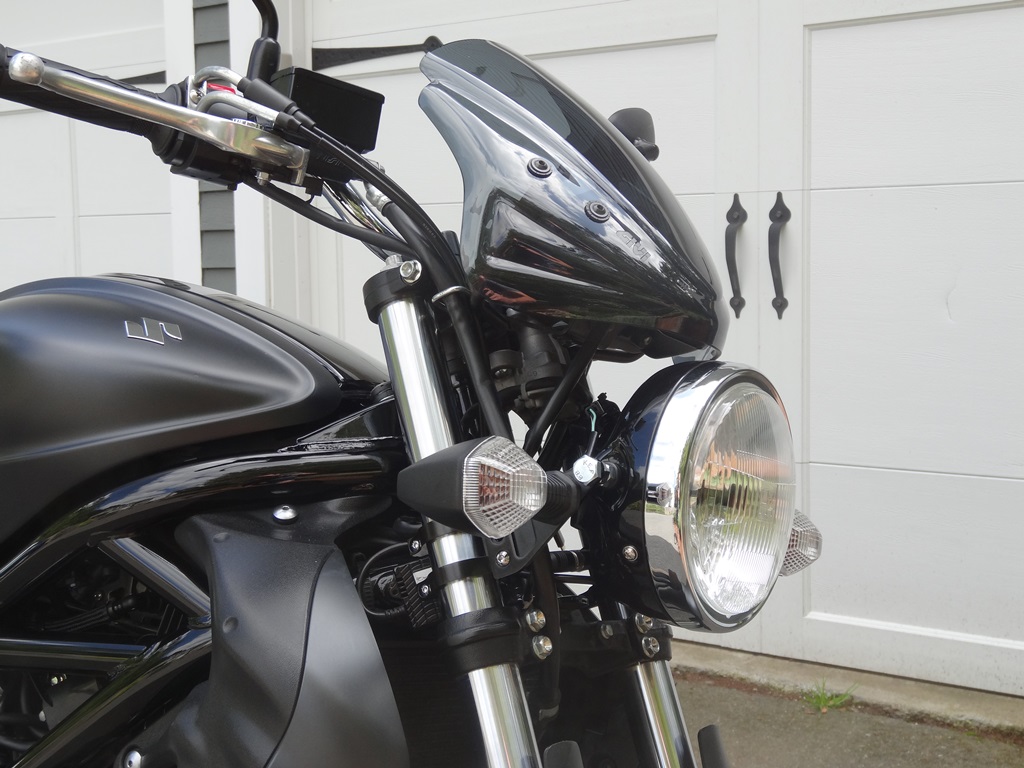
With that, the front wheel, brake calipers, and headlight were reinstalled and everything ready to go. Then the weather suddenly turned to only have high temps in the 30’s. A quick ride and then everything was put away in the shed until next spring. More formal testing and adjustments will have to wait until spring.