One of the first projects since getting the 2013 Suzuki SFV650 back is to remove the huge rear end of the motorcycle and the SW Motech pannier system that was installed by the previous owner.
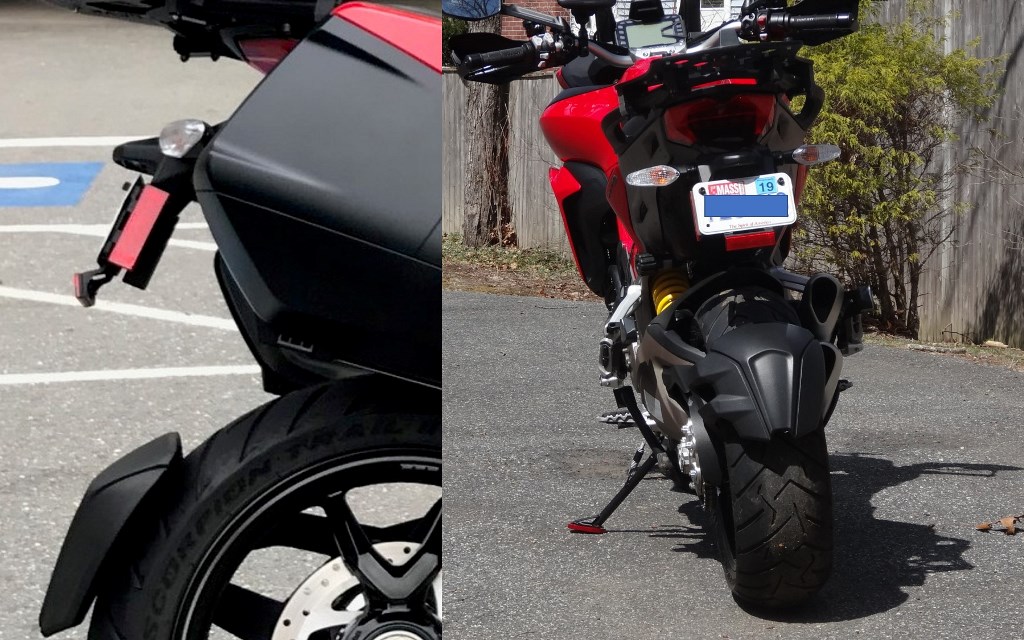
This is how the 2013 Suzuki SFV650 looked shortly before it was traded for the 2016 Ducati Multistrada.
The Givi V46 top case was transferred at that time to the Multistrada and the area at the rear of the bike circled in yellow is the project for today.
With the experience of working on the 1981 Suzuki GS650, OEM parts will be available for a long time, but 2016 was the last year of the SFV650 and after-market parts specific to the SFV650 may become harder to locate.
Looking at options for the tail tidy, the products from R&G Racing and Evotech appeared to be the best solutions available. Availability was the deciding factor and the R&G Racing tail tidy was available directly from R&G in the UK while the Evotech seemed to be out of stock everywhere.
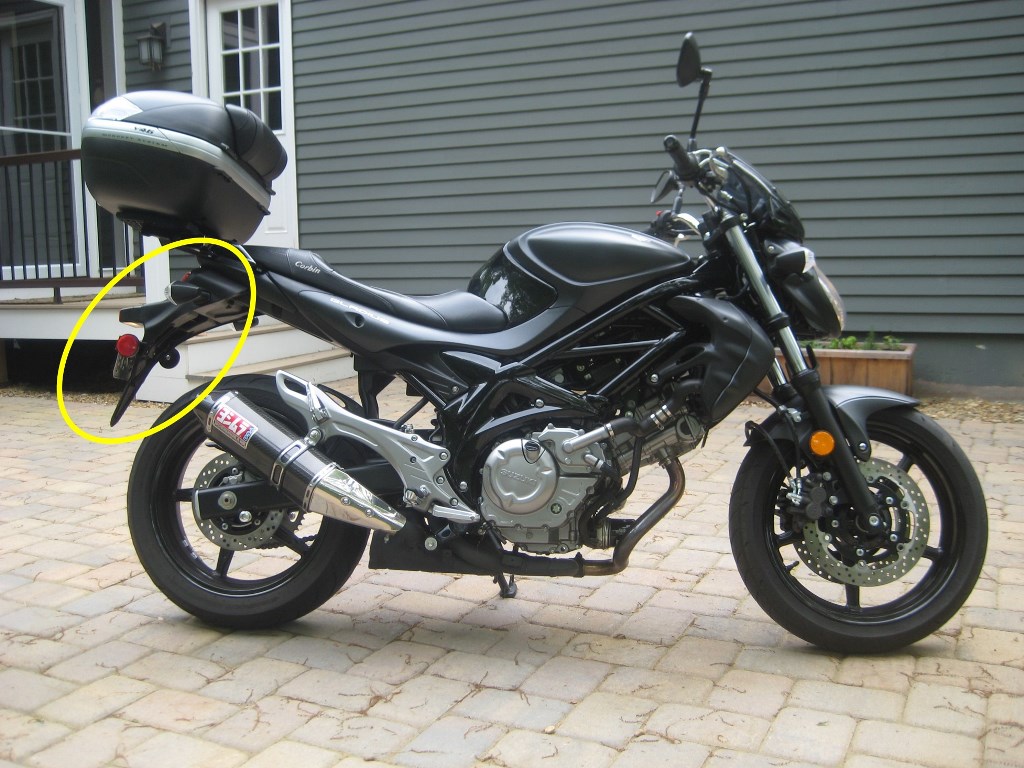
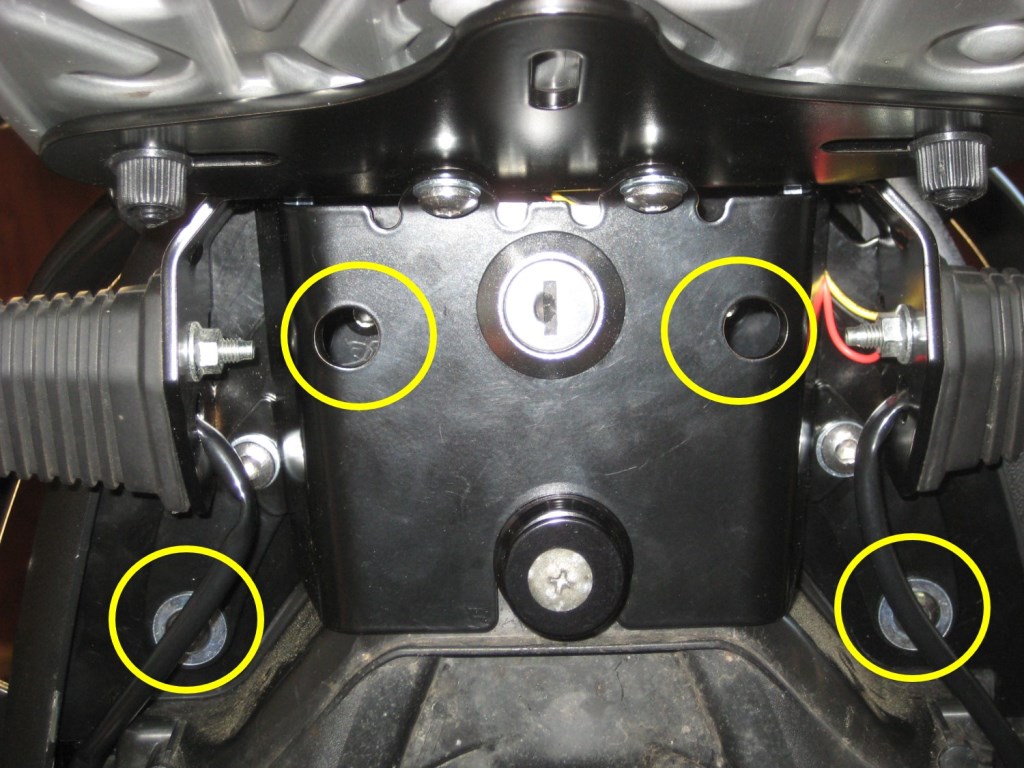
Before we get started, another picture of the existing rear end and the SW Motech pannier supports that will be removed. The existing rear turn signals and the seat lock are the only parts that will transfer to the new tail.
The written instructions for both the R&G Racing and Evotech tail tidies are surprisingly similar and also pretty useless. The SFV650 Service Manual is much more useful in figuring out how things come apart and go back together.
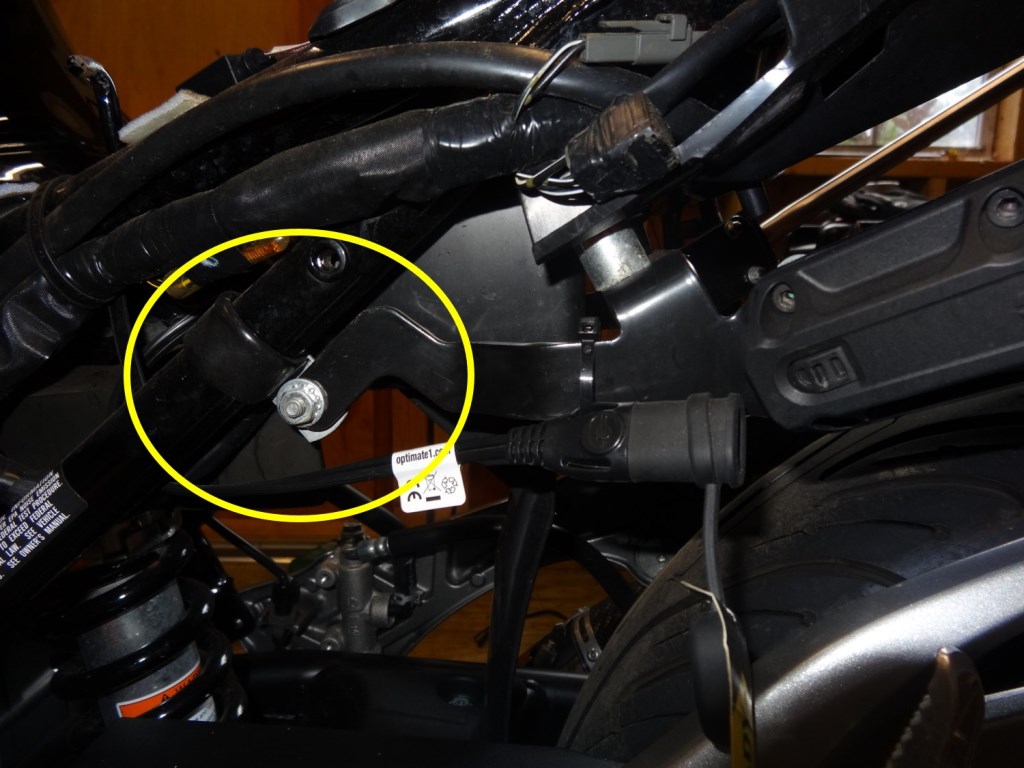
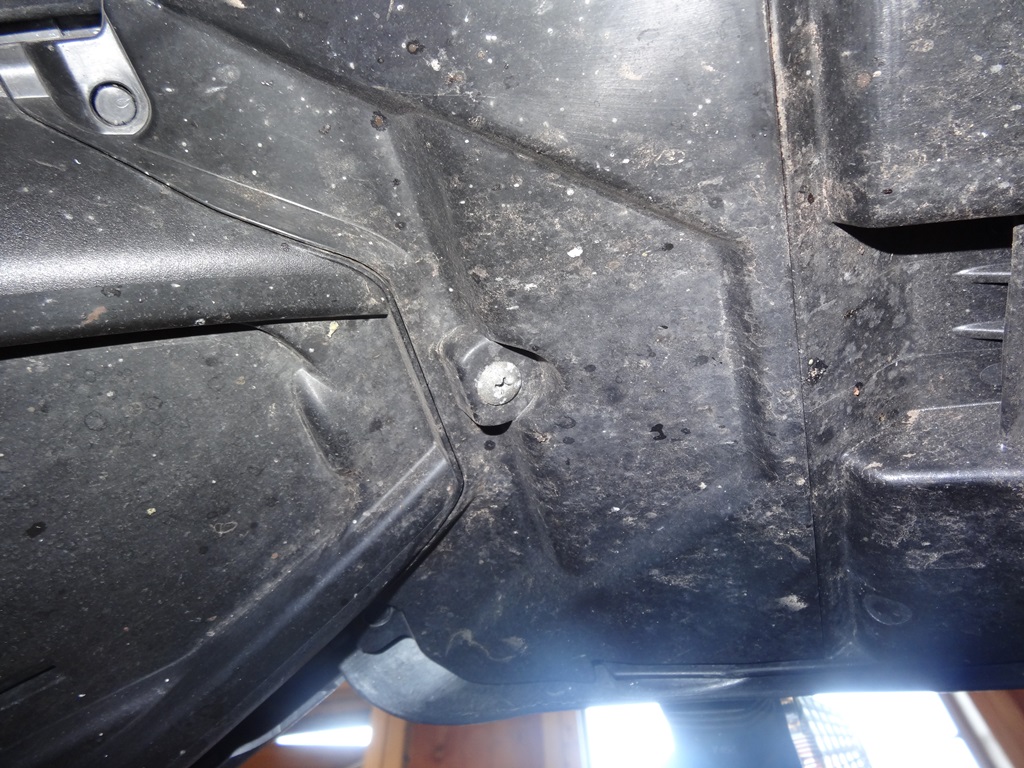
The SW Motech pannier frame was the first to go. There was just two Allen head bolts/spacers connecting to existing body mount point under the seat and two band clamps attaching the brackets to the forward section of the motorcycle frame.
The Allen bolts and spacers replaced some shorter bolts that were original equipment. Luckily some of the bolts that were no longer needed after the tail tidy could be re-used here.
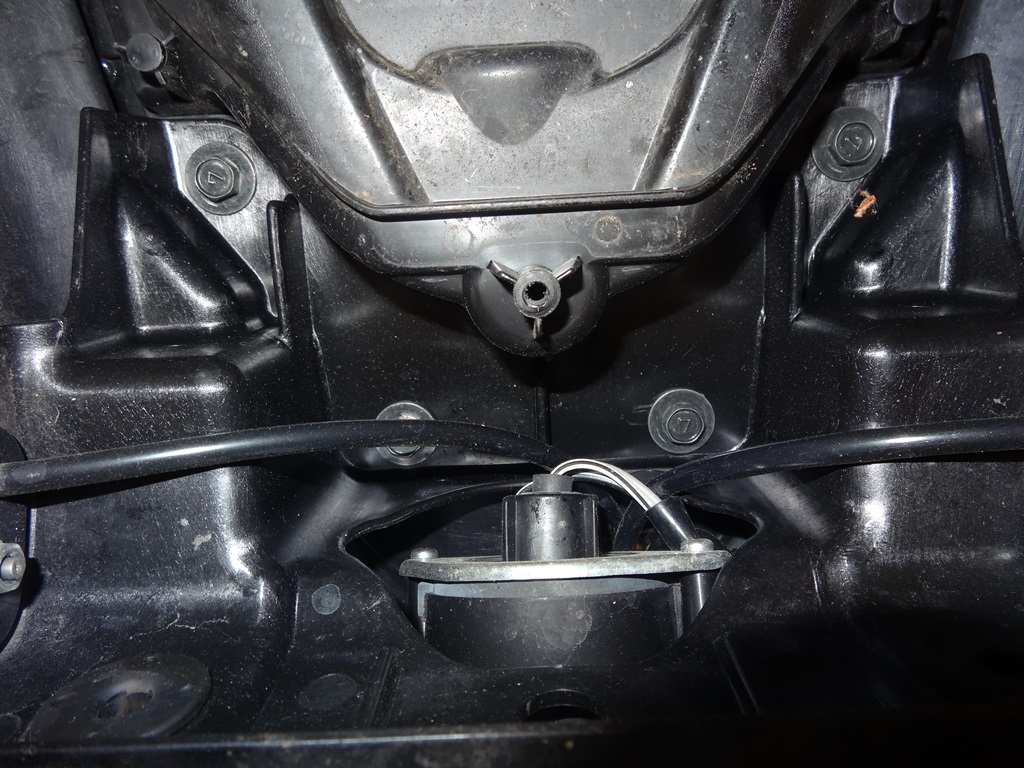
Removing the existing tail and installing the tail tidy requires removing quite a few other items: the seat, the passenger grab handles, the body side panels, and of course the existing tail with associated turn signal and lighting wiring connections and seat lock mechanism.
Once you have the basic pieces out of the way, there is a single Philips head screw in the rear wheel well that releases an access panel to the mounting bolts of the tail.
Once the access door is removed, you have access to the four bolts that attach the tail.
With the wiring and lock connections disconnected and the four bolts removed, the whole tail just drops off in one big piece.
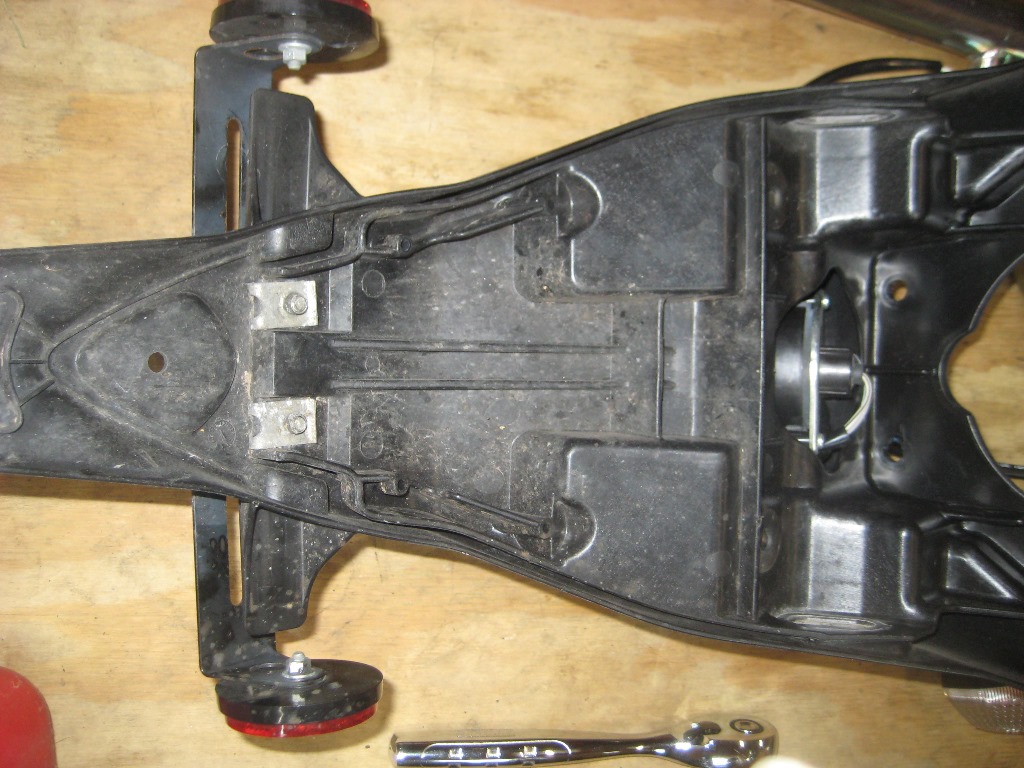
Before moving on to the install, you need to remove the existing turn signals and the key mechanism for the seat lock to be reinstalled. The turn signals simply unbolt with a 6mm socket. Getting to the key mechanism requires removal of the two Phillips head screws that hold the license plate bracket. With these screws removed, the tail separates into two pieces to access the interior of the tail.
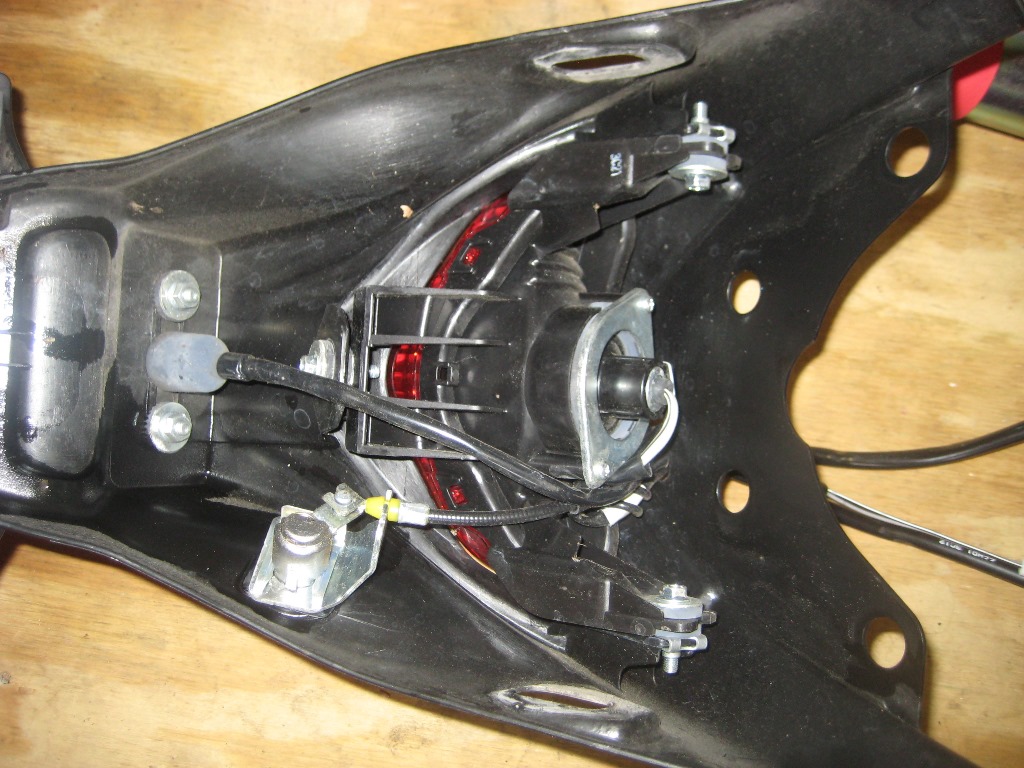
It is just a simple slide clip that retains the lock mechanism. Slide the clip off, pull everything out, and transfer to the new tail.

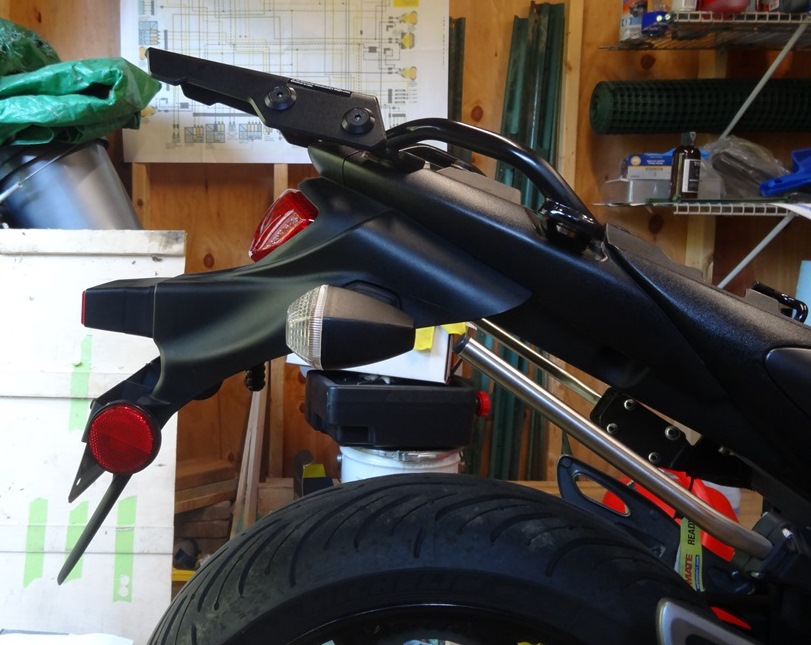
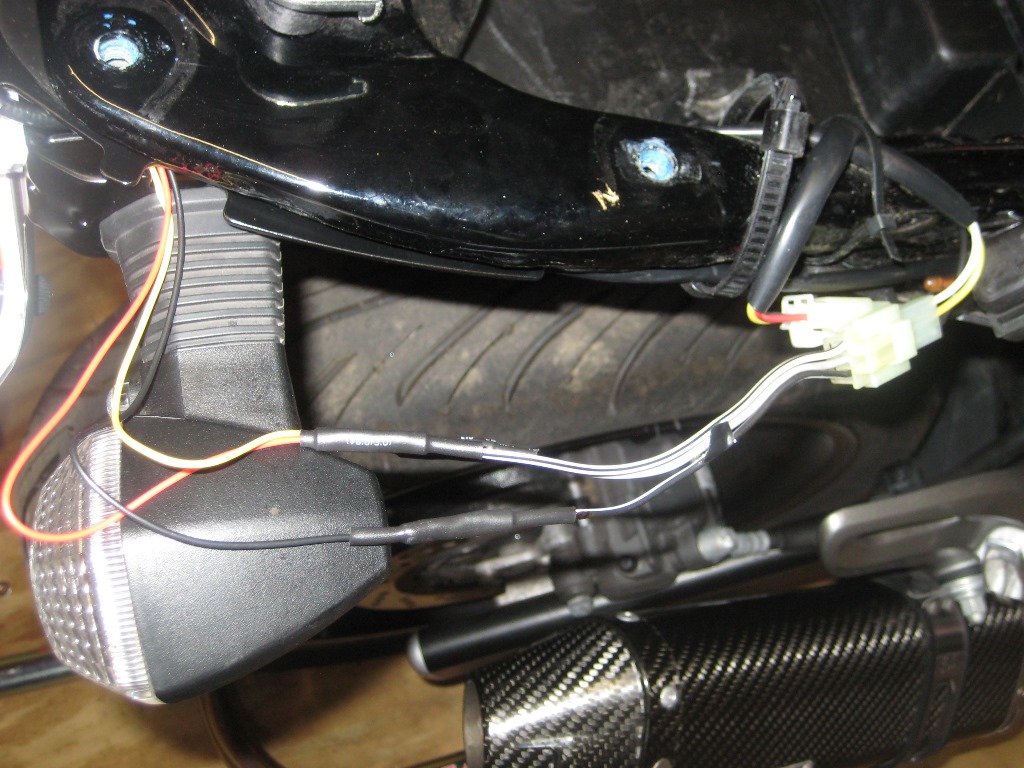
At this point, the tail tidy starts to get mounted to the bike. The instructions were not clear on routing of the lock cable or the turn signal and brake light wires. I left the turn signals outside of the tail tidy enclosure and both the lock cable and brake light wires up and out the right side of the enclosure.
The existing four holes are used to mount the tail tidy to the bike with the supplied Allen head bolts. Two are straight forward towards the front of the mounting plate. The last two need to be inserted through the lock enclosure up the to existing mounting points. I was balancing the bolt on top of the Allen wrench and working blind while realizing if I dropped one I would be starting over as there was no way to retrieve a bolt dropped inside the enclosure.
Before putting everything else back together, the wiring and lock cable connections need to be completed. The turn signals just reconnect to their existing connections. The new rear brake light is generic across all of the R&G Racing tail tidies, so unfortunately, it was necessary to cut the connector from the old tail wiring and splice it to the new brake light wires for re-connection.
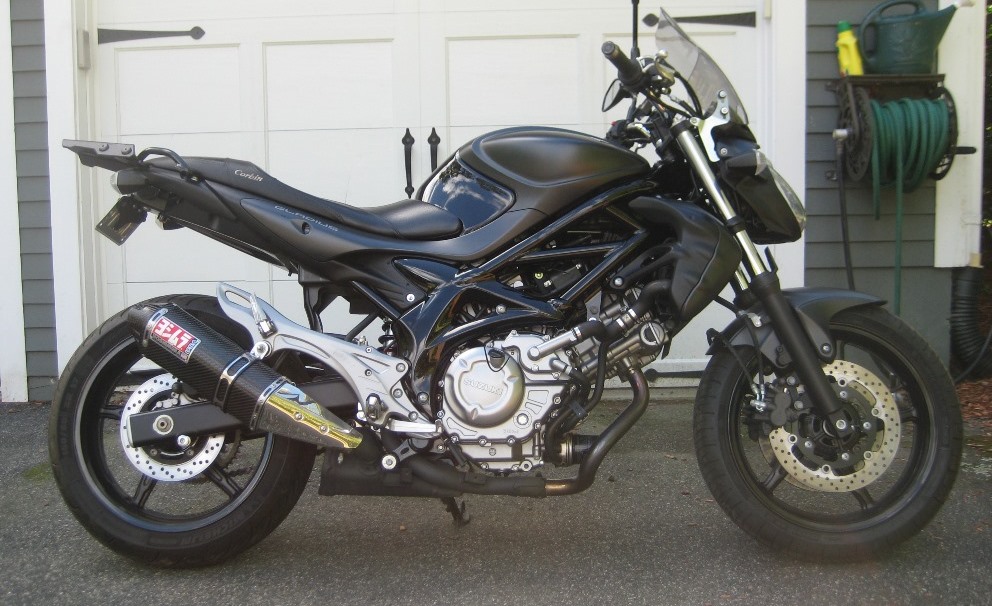
Other than needing to splice in the wiring for the rear light, I am very happy with the quality and appearance of the R&G Racing tail tidy for the SFV650. Had to get the bike back outside for some decent pictures.
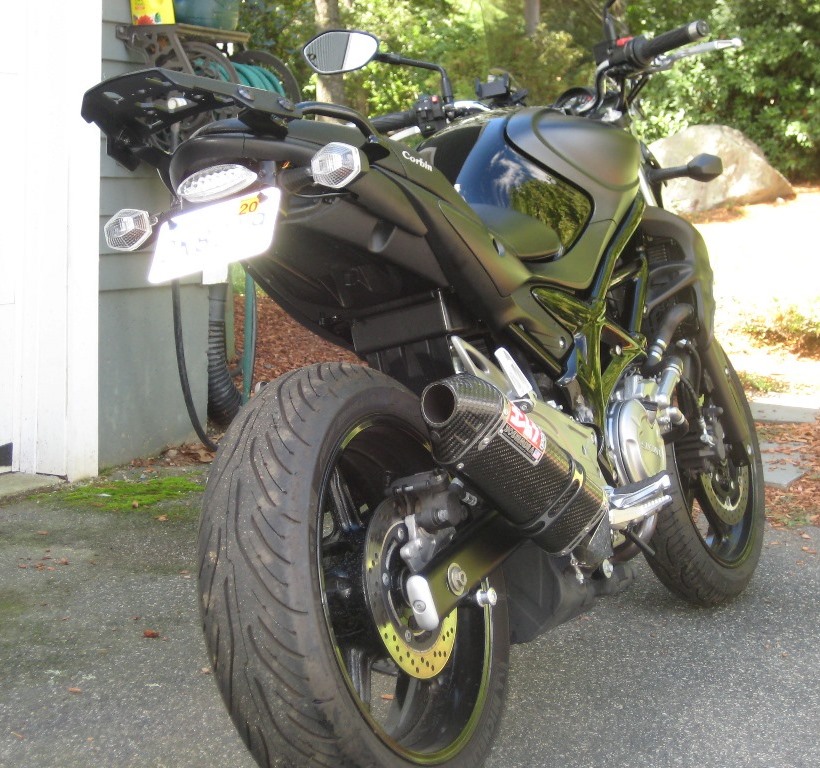
One thing that I have left to do is configure the rear reflector requirements. The kit came with a single, stick-on round reflector which might work in the UK with their larger number plates, but no where to stick it on the MA plate or meet the side reflector requirements.
After trying to figure out how to piece something together to mount the reflectors, I realized that the Ducati Multistrada has the perfect setup for this with a bracket that mounts behind the license plate for the three reflectors. I have ordered the part from Ducati and will be installing that when it arrives.